1.1 Databricks Onboarding Process
Databricks Onboarding Process
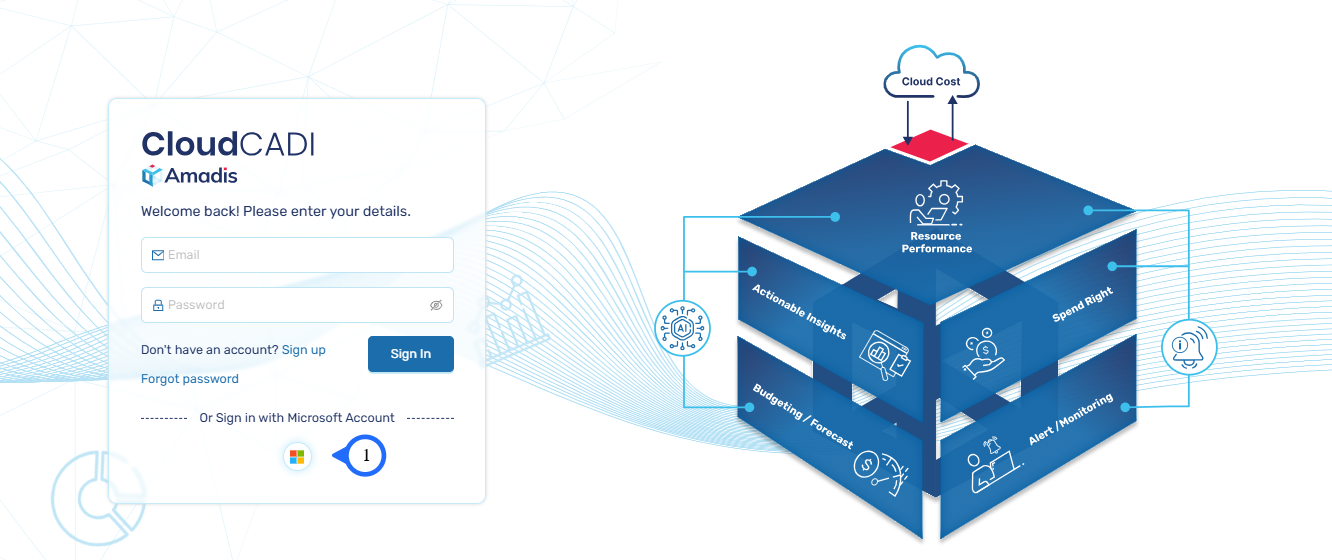
Step 1 : Sign in with Microsoft Account.
Step 2 : Accept the required permissions for Databricks authentication via Microsoft Single Sign-On.
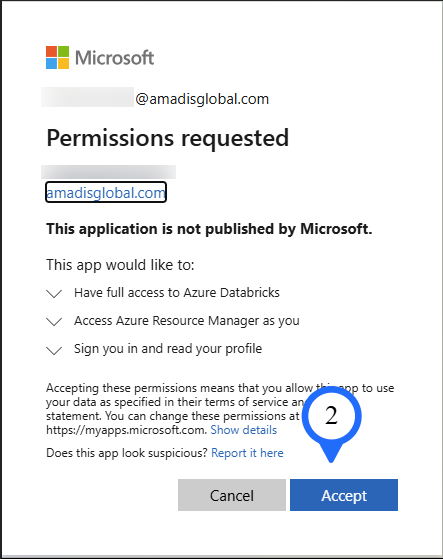
- After accepting the conditions, the user will be redirected to the Profile Details page, where their details will be collected.
Step 3 : Enter the role, location, organization, and phone number and Click on Update Profile.
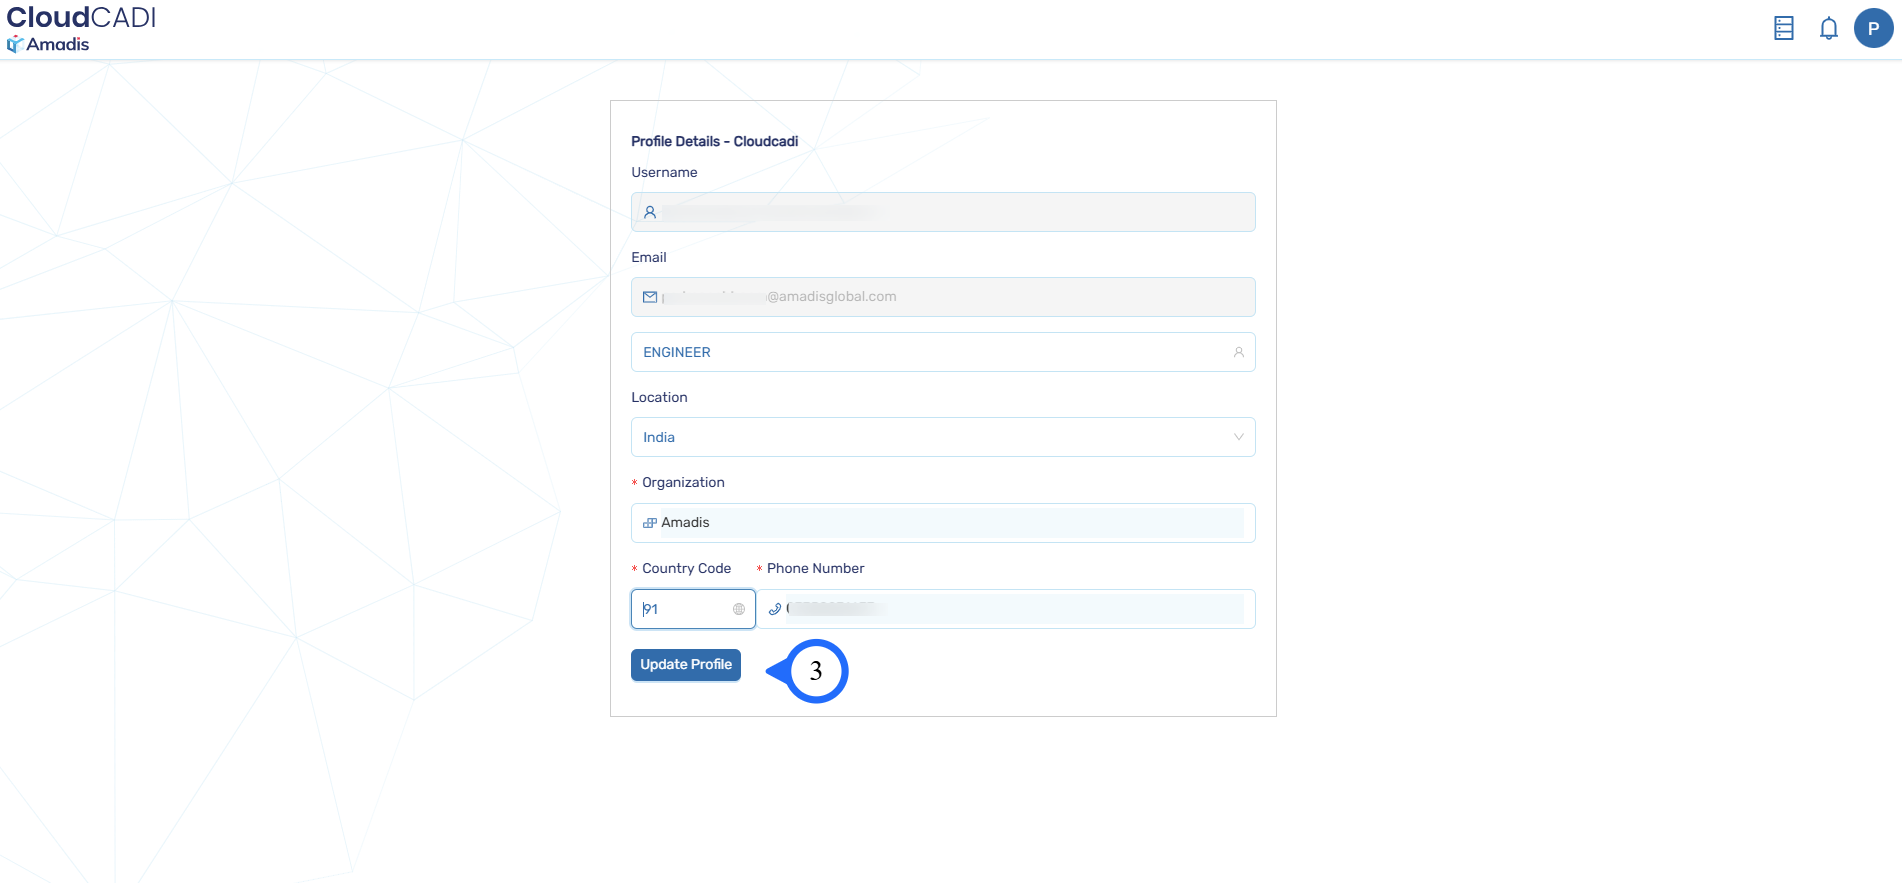
- After clicking update profile it will be redirected to admin page.
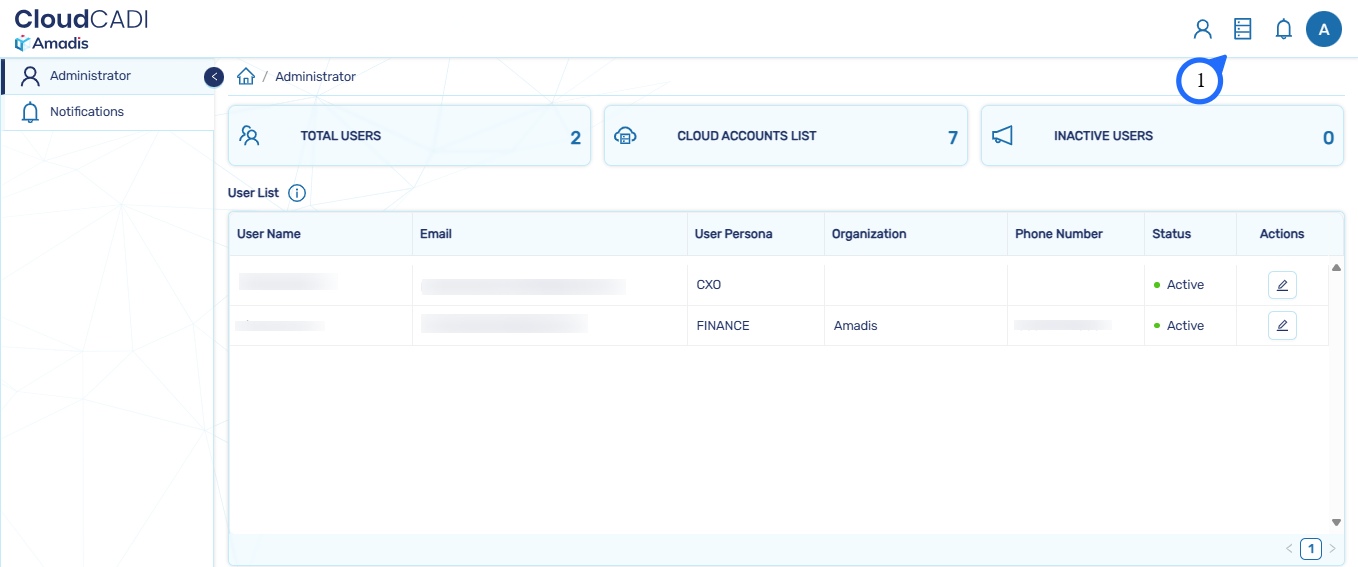
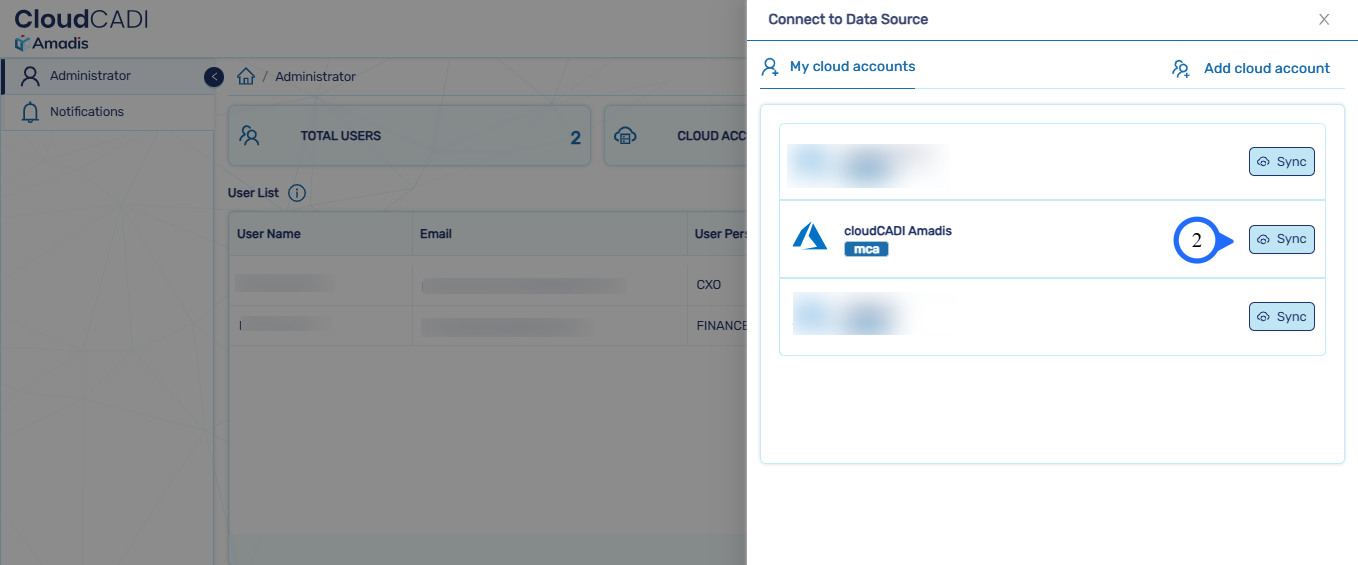
Step 4 : Click the below icon to view your cloud account.
Step 5 : Sync your cloud account and you will be redirected to cloudCADI dashboard.
Application side process
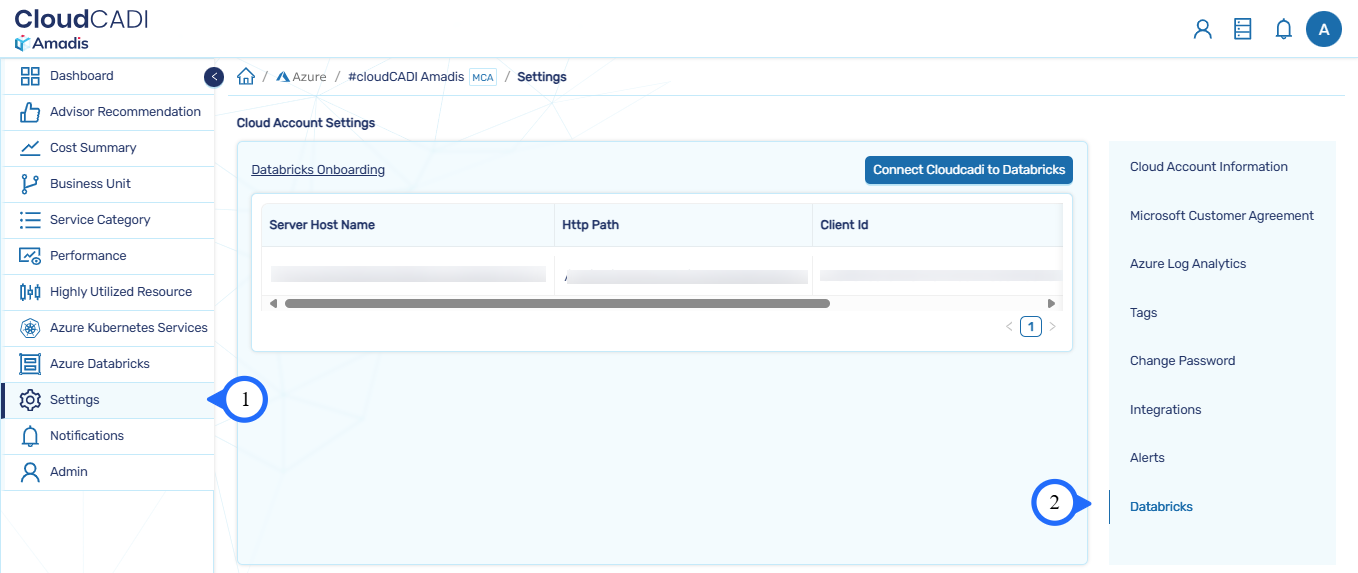
- After successful login , in CloudCADI go to the Settings tab, then select the Databricks tab on the right side.
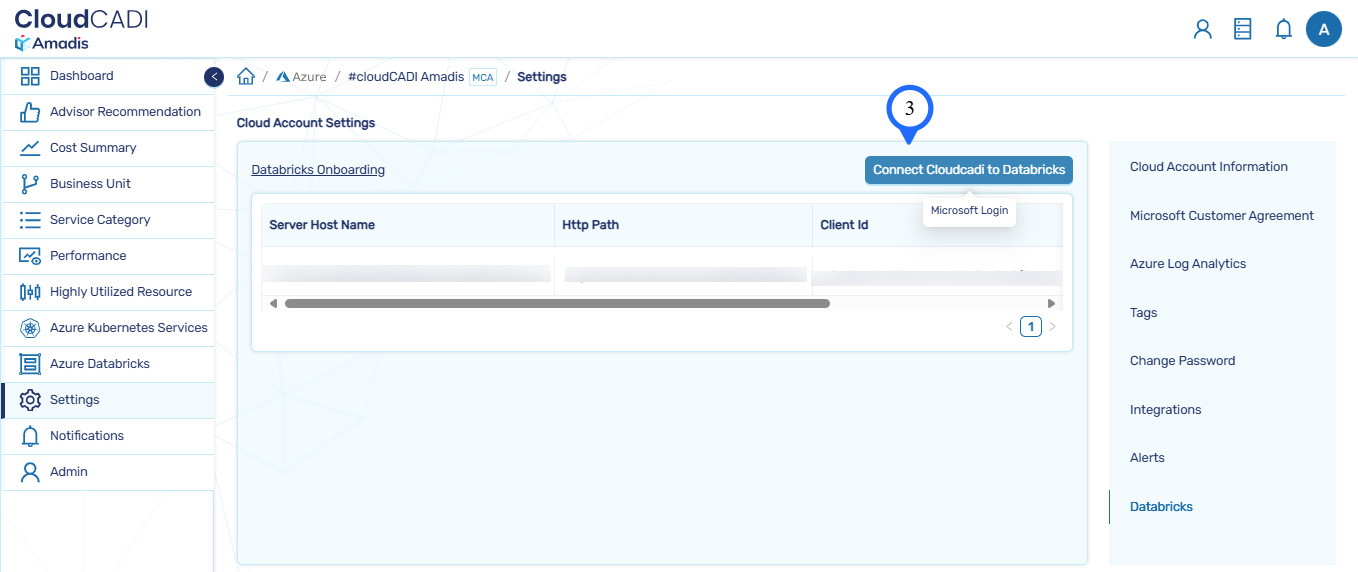
- Click on Connect CloudCADI to Databricks to establish a connection between CloudCADI and Databricks.
- Enter your account ID and select your subscription and then click on Done.
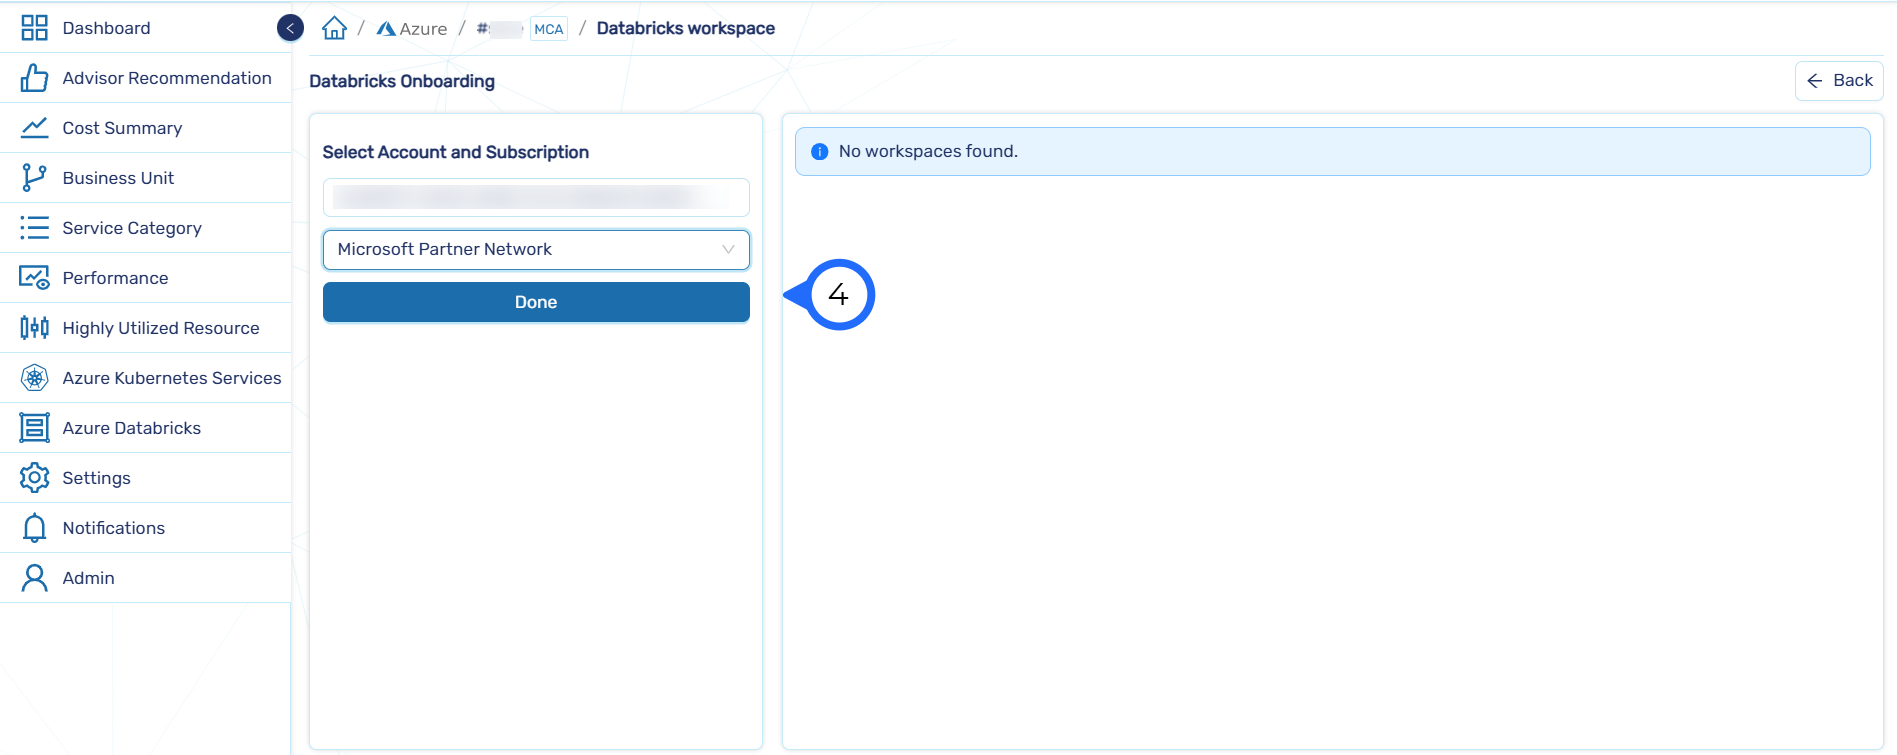
- After clicking Done list of Premium Workspaces will be returned.
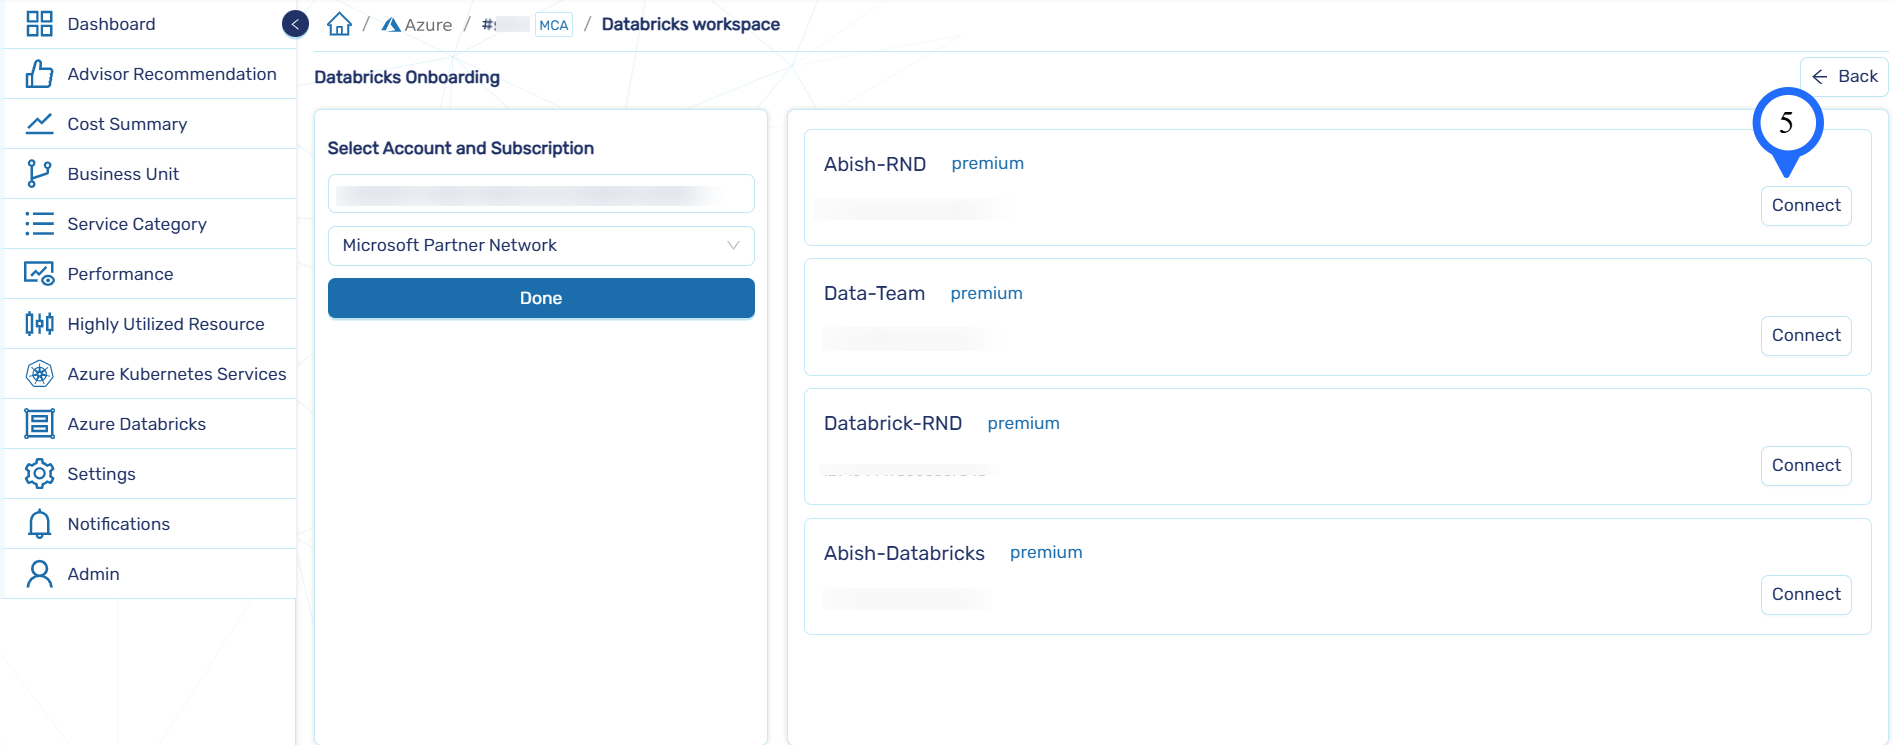
- From the available workspaces, click Connect button to connect with the workspace.
Note
- CloudCADI will create a new Service Principal.
- The Service Principal will be assigned to the connected workspace.
- CloudCADI will create a SQL Warehouse.
- When the user selects the second workspace, CloudCADI will use an existing Service Principal and SQL Warehouse instead of creating new one.