1. Permissions required for Databricks Onboarding
Databricks Onboarding Guide
Prerequisites
- For onboarding a Databricks workspace, the user should have the "Account Admin" role in Databricks.
- The workspace should have at least one enabled Metastore.
- The System Table feature should be enabled for the Unity Catalog.
- Select the "Service Principal" chosen during the Managed App creation and add the following permissions:
- Azure Resource Management
- Azure Databricks
Note
Follow the below instructions to add the two required permissions.
Permissions required for Databricks onboarding
-
The user must be a Databricks Account Admin.
-
For the Service Principal, the following two permissions must be granted.
1. Azure Resource Management (user_impersonation)
-
Login to your 'Azure Portal'.
-
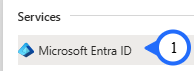
Step 1 : Search for Microsoft Entra ID in Azure Portal.
-
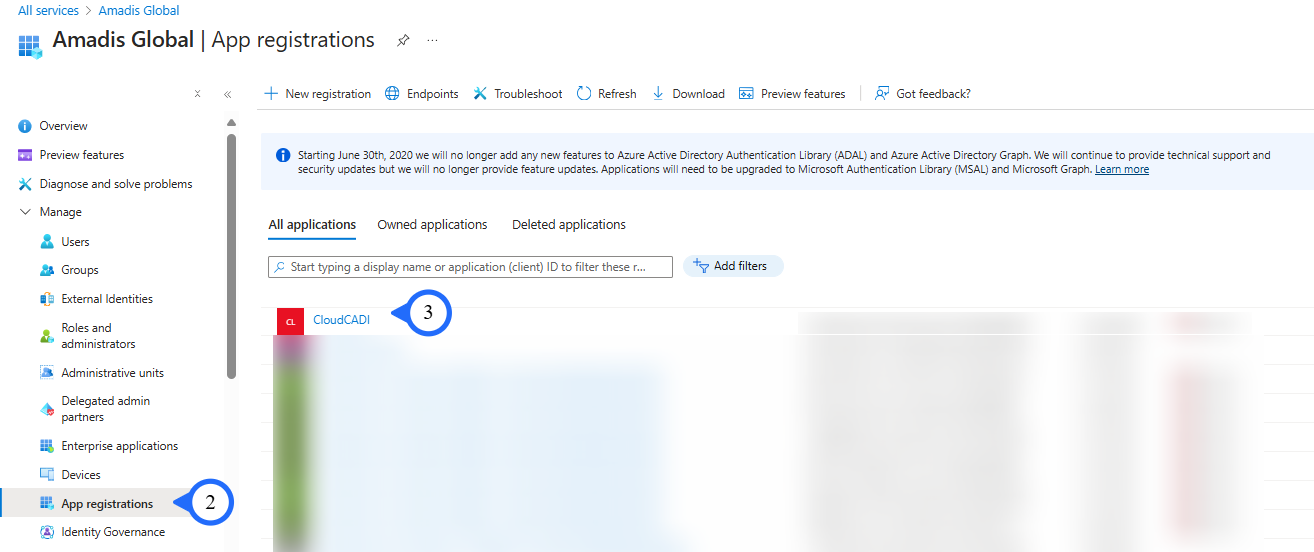
Step 2 : Extend Manage section and Click on “App registrations”.
-
Step 3 : Select the "Service Principal" chosen during the Managed App creation.
-
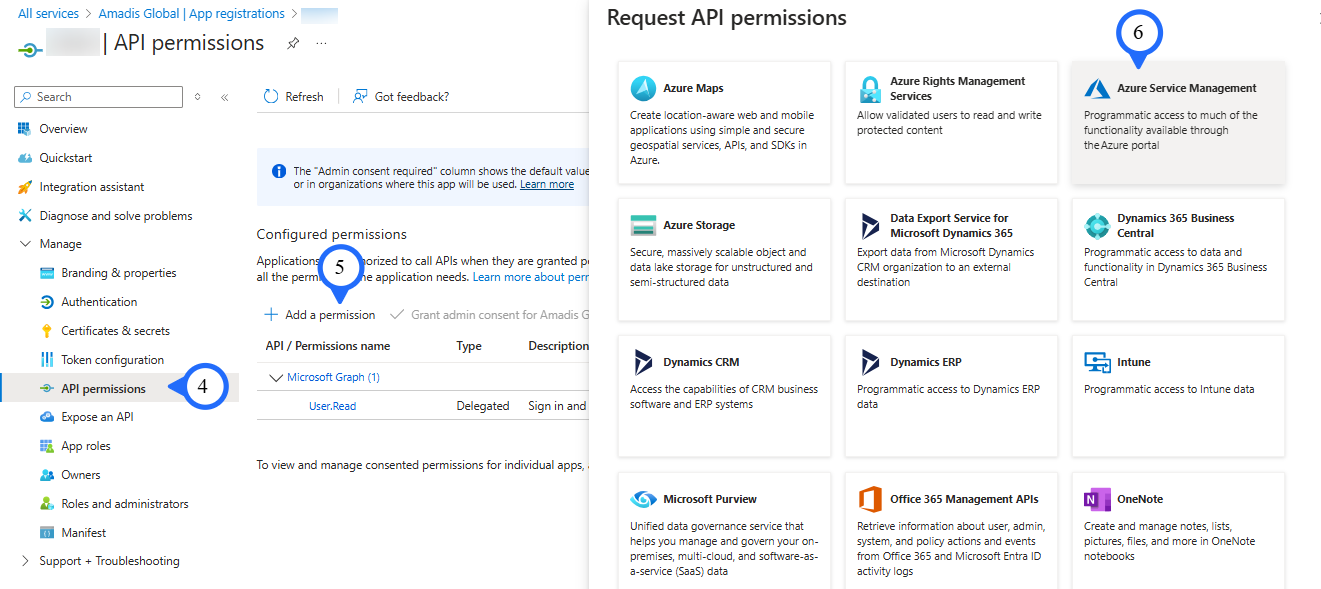
Step 4 : Click on "API permissions".
-
Step 5 : Click on "+ Add a permission" to add new API access permissions.
-
Step 6 : Select "Azure Service Management" in the Request API permissions panel.
-
Step 7 : Click the checkbox next to "user_impersonation" to select it.
-
Step 8 : Click the Add permissions button to confirm and apply the selected permission.

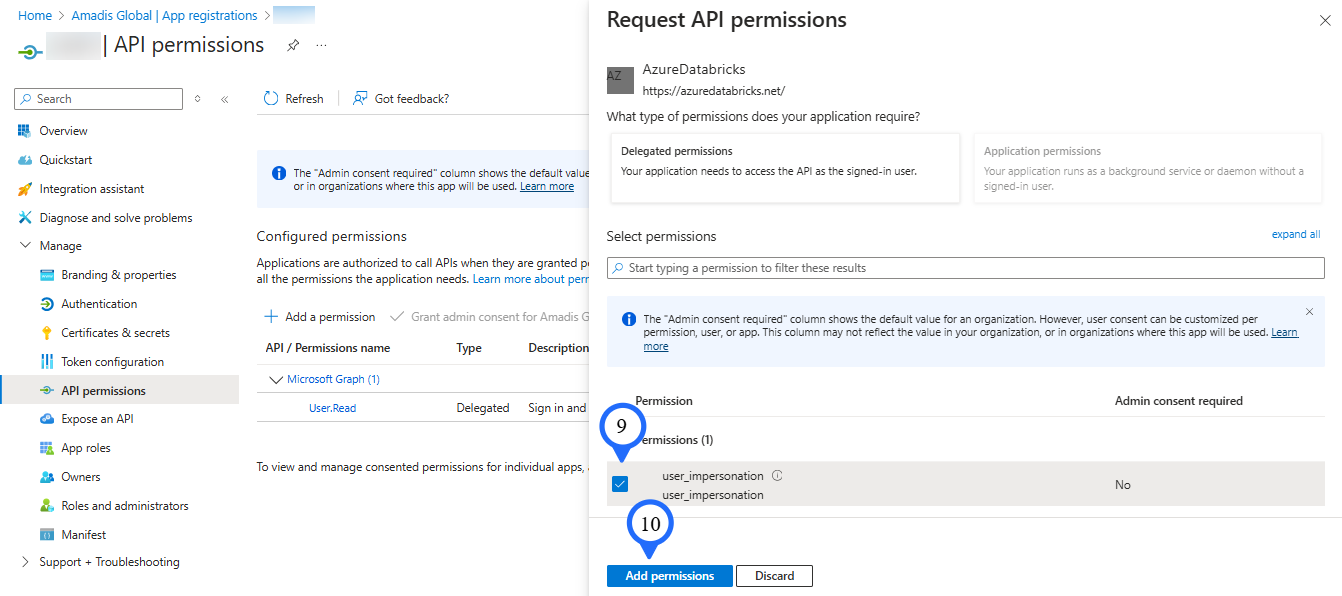
2. Azure Databricks (user_impersonation)
-
Login to your 'Azure Portal'.
-
Step 1 : Search for Microsoft Entra ID in Azure Portal.
-
Step 2 : Extend Manage section and Click on “App registrations”.
-
Step 3 : Select the "Service Principal" chosen during the Managed App creation.
-
Step 4 : Click on API permissions.
-
Step 5 : Click on "+ Add a permission" to add new API access permissions.
-
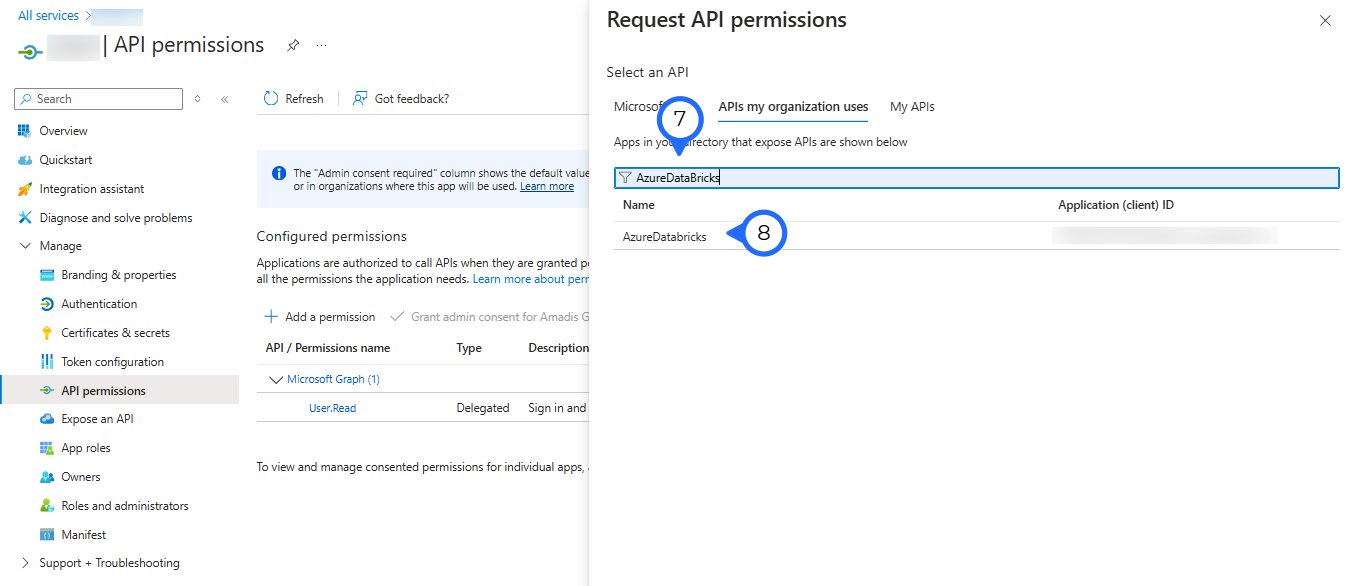
Step 6 : Click on APIs my organization uses.

-
Step 7 : Search for AzureDatabricks in the search bar.
-
Step 8 : Click on the listed API to proceed with granting the required permissions.
-
Step 9 : Click the checkbox next to "user_impersonation" to select it.
-
Step 10 : Click the Add permissions button to confirm and apply the selected permission.
After providing the permission, the screen looks like this.
