STEP 4 - CloudCADI Application Onboarding Process
CloudCADI Application Onboarding Process
Prerequisites
- STEP 1: Setting up Cost Export
- STEP 2: Setting up Performance Data Collection
Onboarding Process helps to connect your azure account with the CloudCADI. The steps are as follows,
- Visit the "App Service URL" which you created using the 'Managed App'.
Need help finding CloudCADI App service
- In portal, Search for Managed applications and click on the recently created managed application.
- Once Managed App overview is visible, Click on the Managed resource group
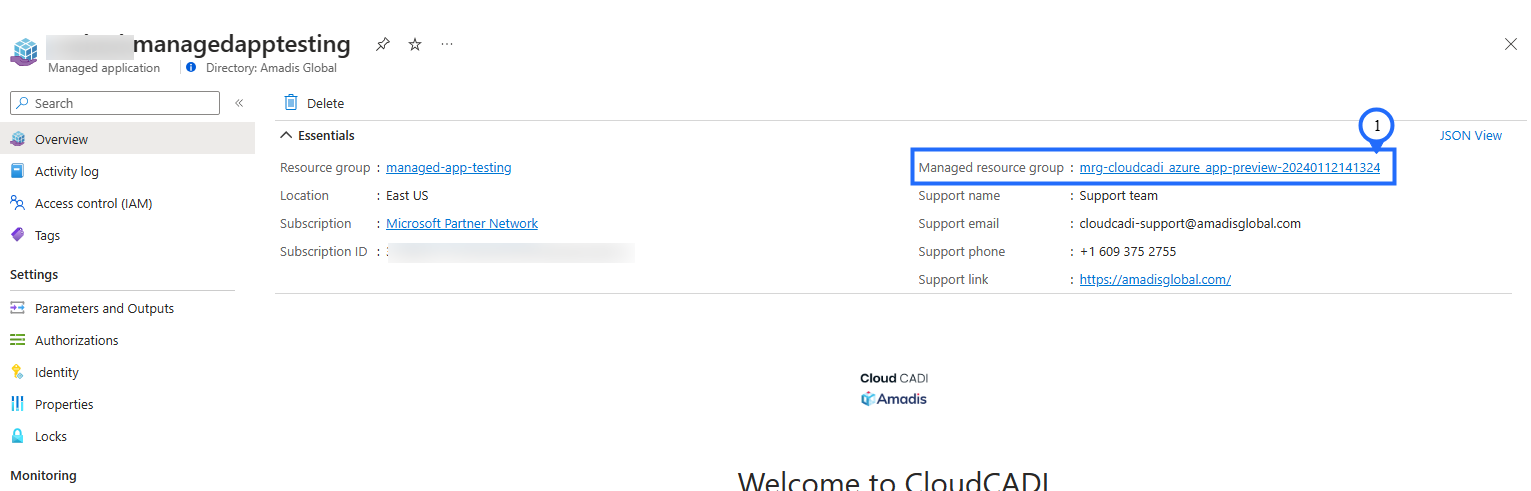
- In Managed resource group - You will see App service, Click on it.
- In App services Overview pane - Click on Default domain
4.1 Setting Up an Admin Account
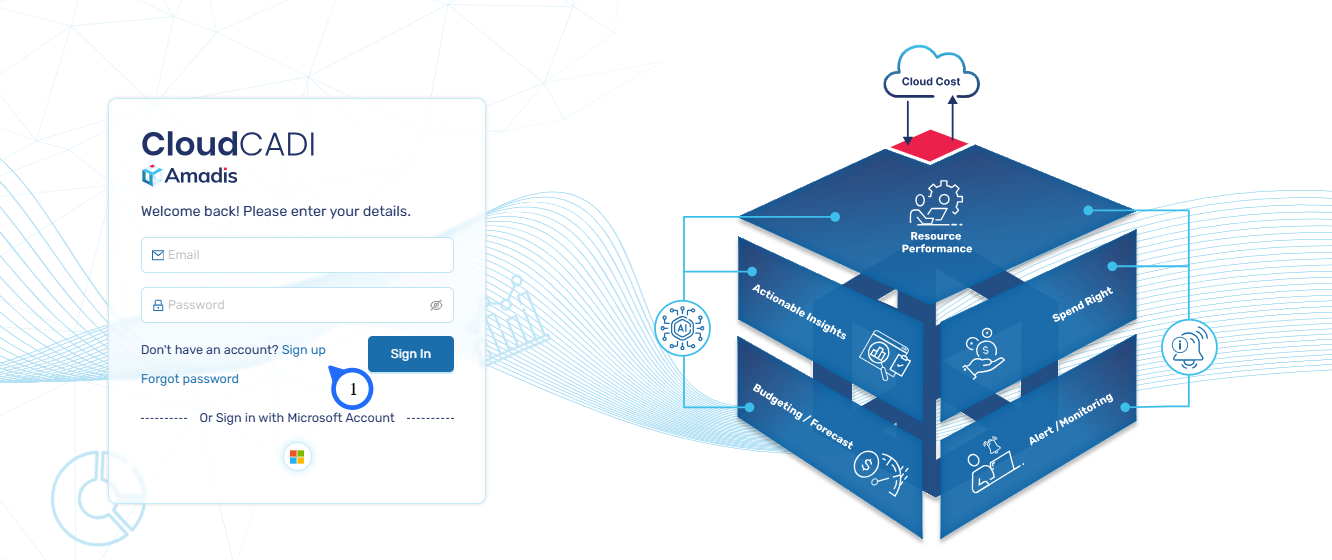
- Visit App Service URL and click on Sign Up.
Note
- The initial user who completes the sign-up process is automatically designated as the administrator, granting them full access to create cloud account, as well as approve, activate, and deactivate cloud accounts.
- Create your account by entering your name, organization name, and phone number. After entering your details, click Sign up to proceed.
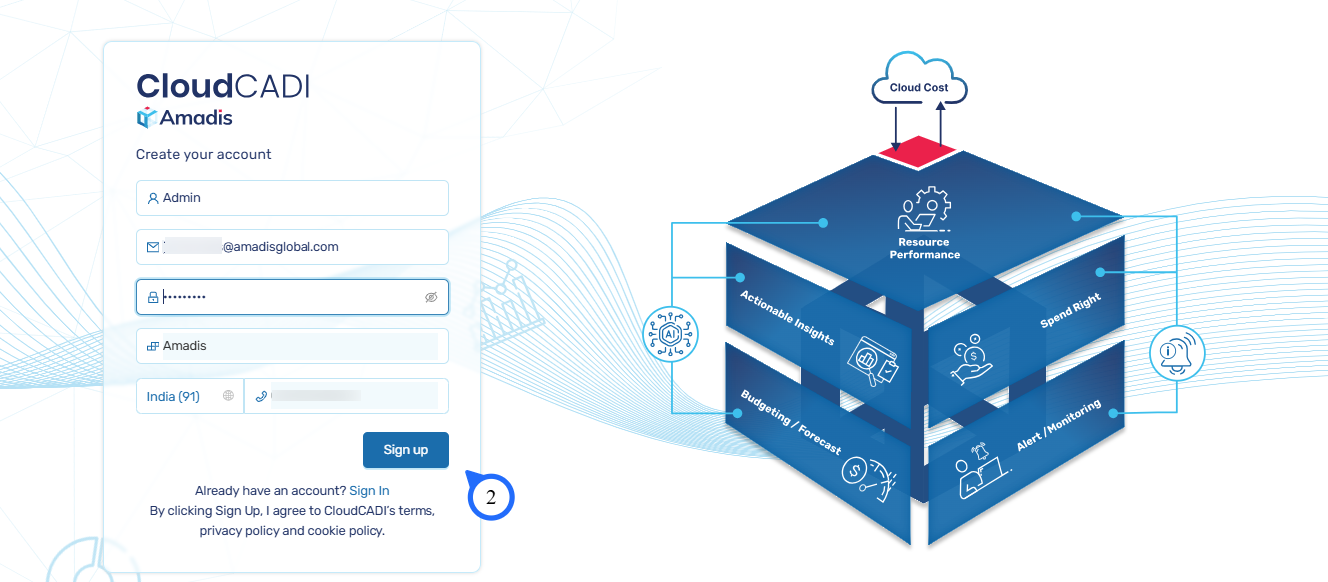
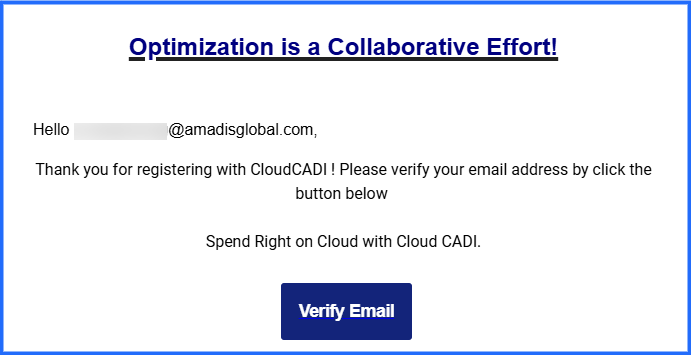
- A verification email will be sent to your registered email address.
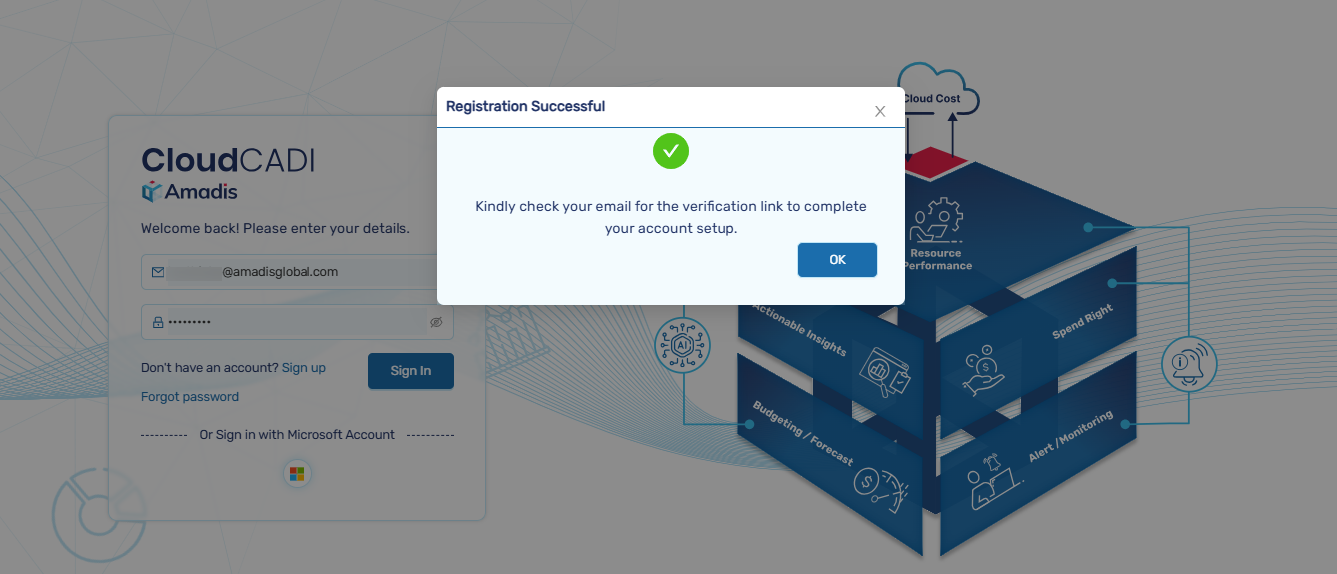
-
After receiving the verification email, open it.
-
Click on the Verify Email button to complete the email verification process.
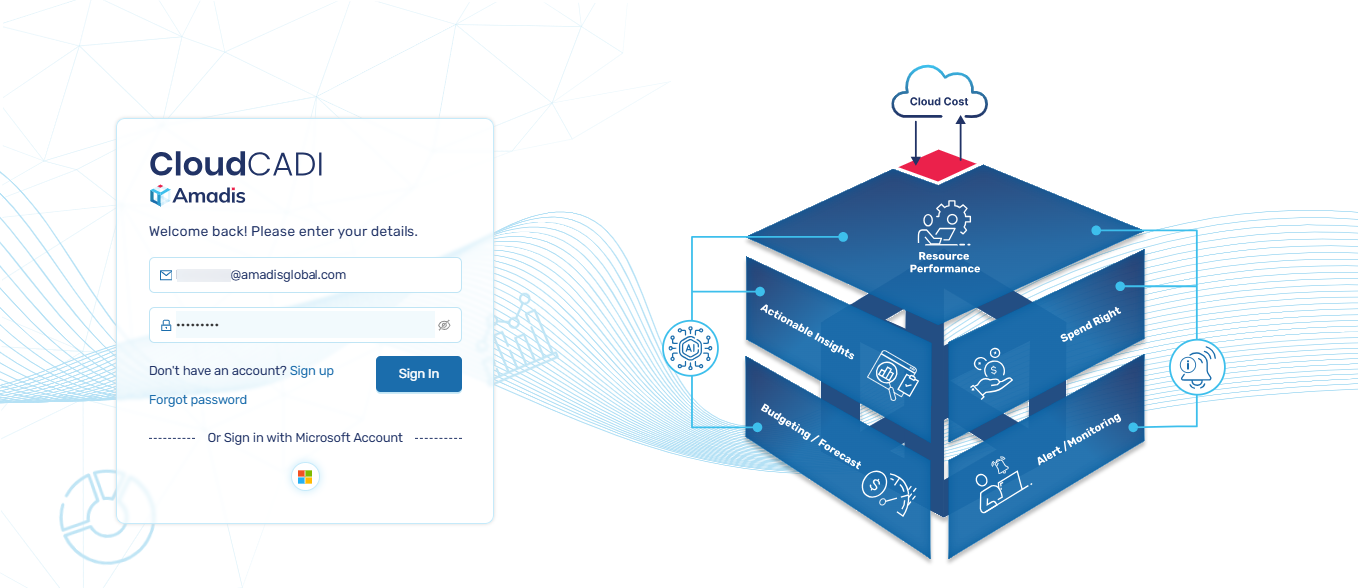
- Sign in with your account.
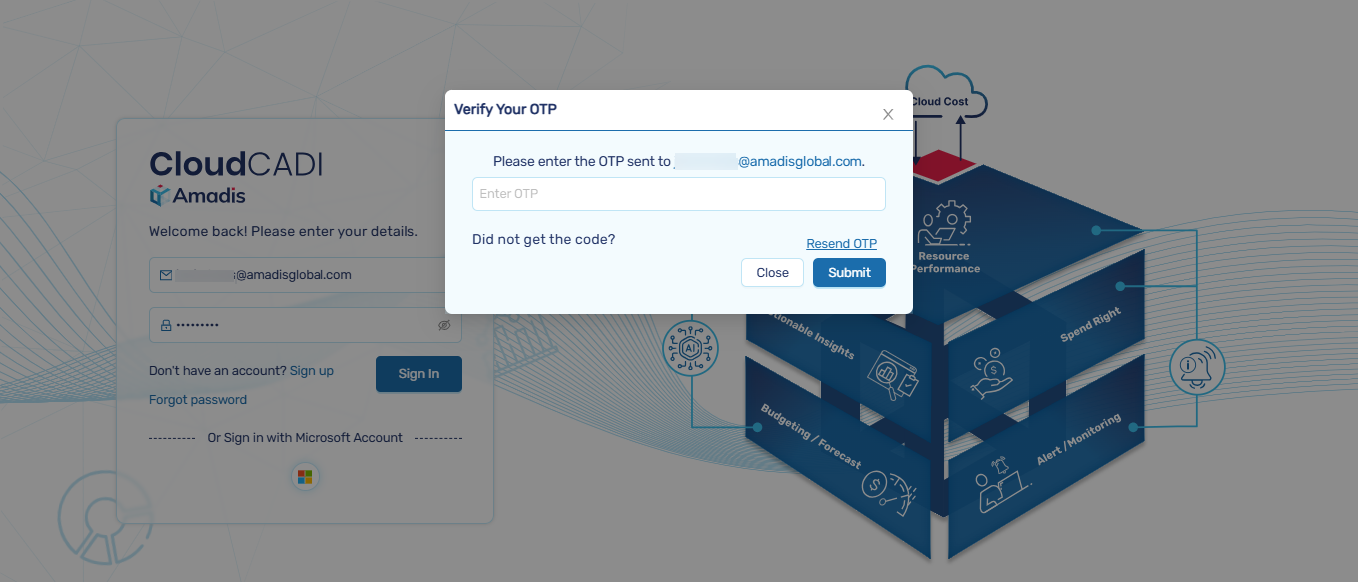
- During the sign-in process, an OTP will be sent through email. After entering the OTP, the admin will be successfully logged in.
Note
- OTP is sent only to the admin account, and there is no OTP verification for user accounts.
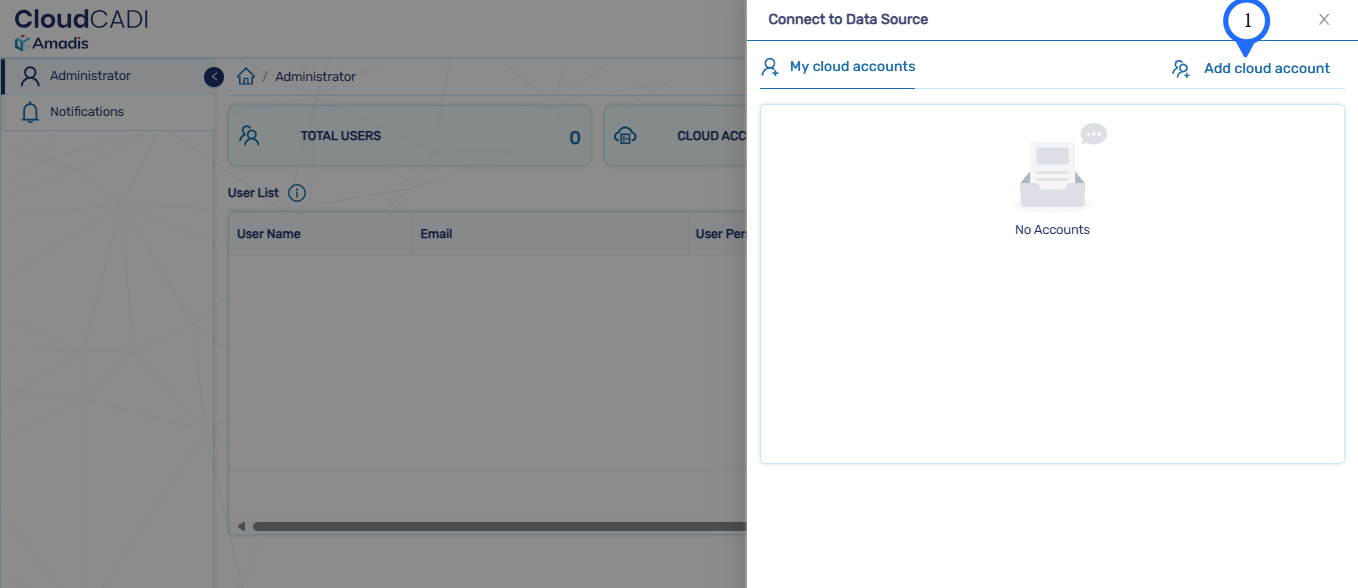
- After logging in, you will be redirected to the admin page then, click on the icon shown below.
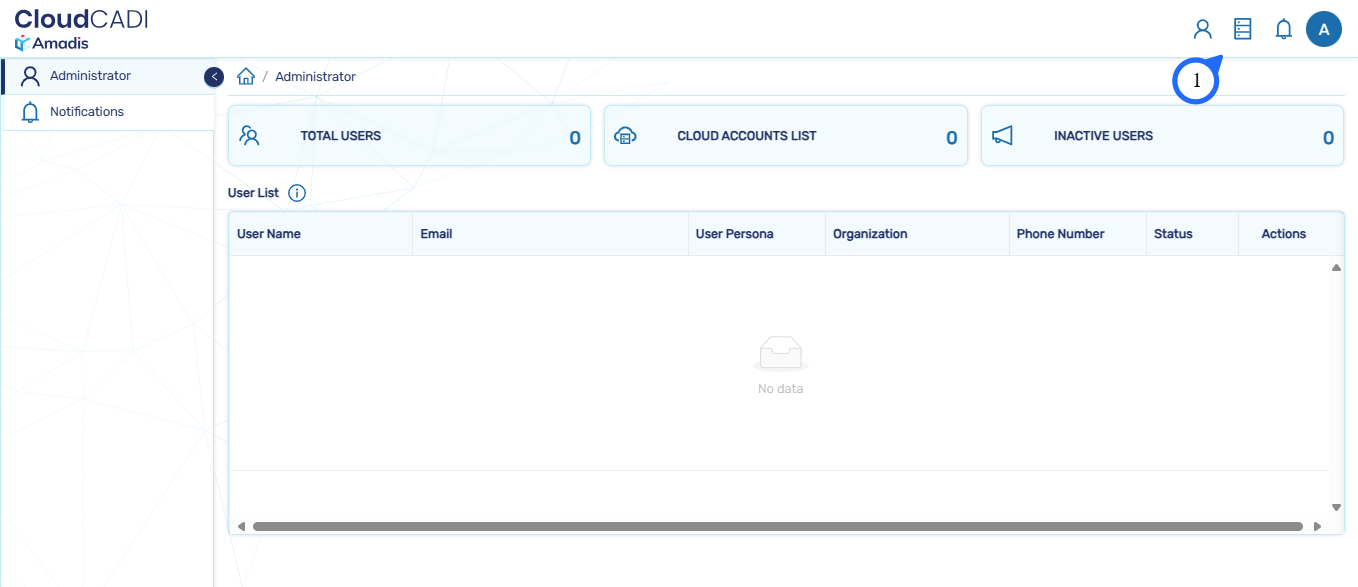
- Click on the Add cloud account button. Only the admin has the authority to create a cloud account.
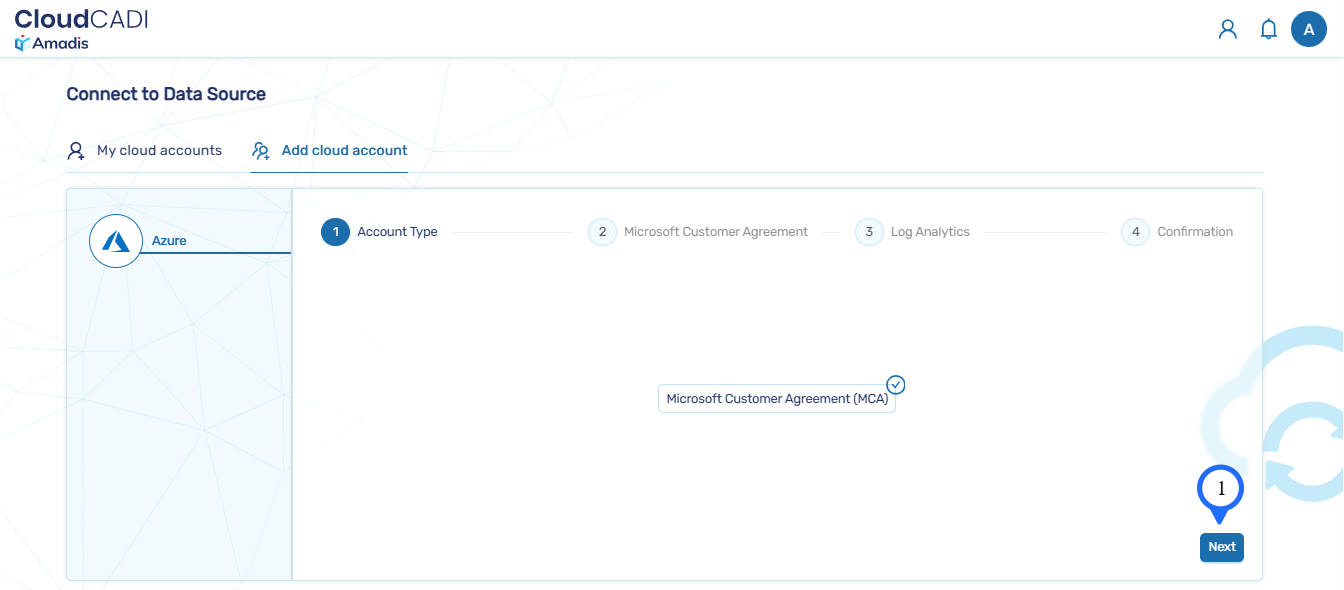
Account Type
- After clicking add cloud account an account type with Microsoft Customer Agreement (MCA) is chosen accept it by clicking on next.
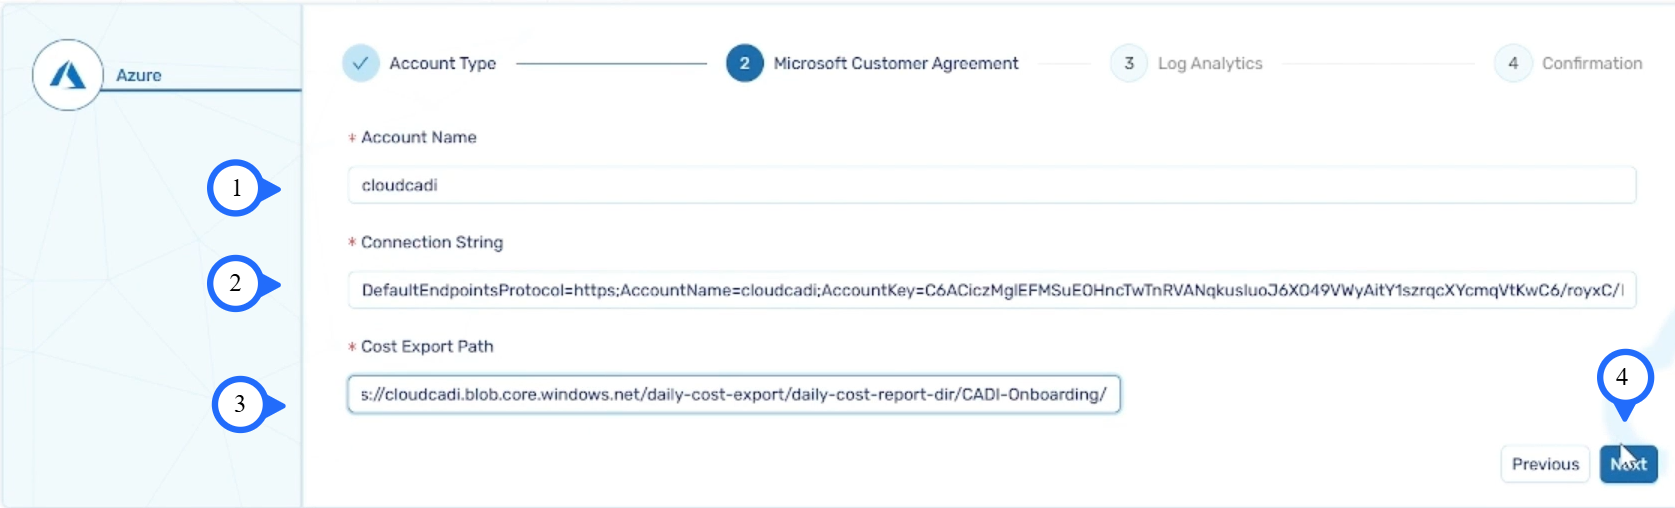
Microsoft Customer Agreement (Cost Export Storage Account Details)
- Give unique name for the account in the name field.
- After getting the details from the Azure portal, Fill the "Connection String" and "Cost export path" in the 'MCA' screen.
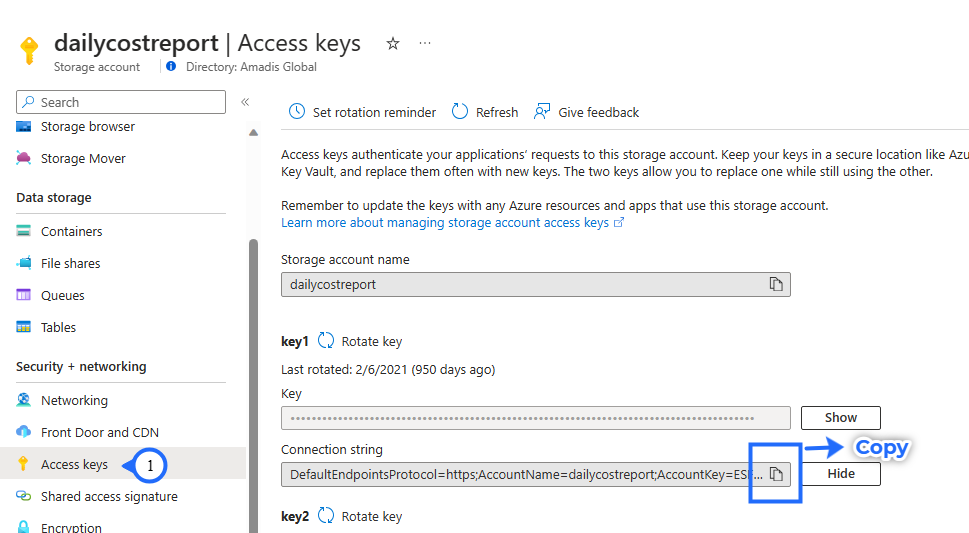
How to get storage account connection string ?
- Login to your Azure Portal.
- Go to your ‘Storage Account’. (i.e., Created during Managed App deployment).
- select Access Keys which is under Security + networking.
- Copy the ‘Connection String’ from the right-side panel
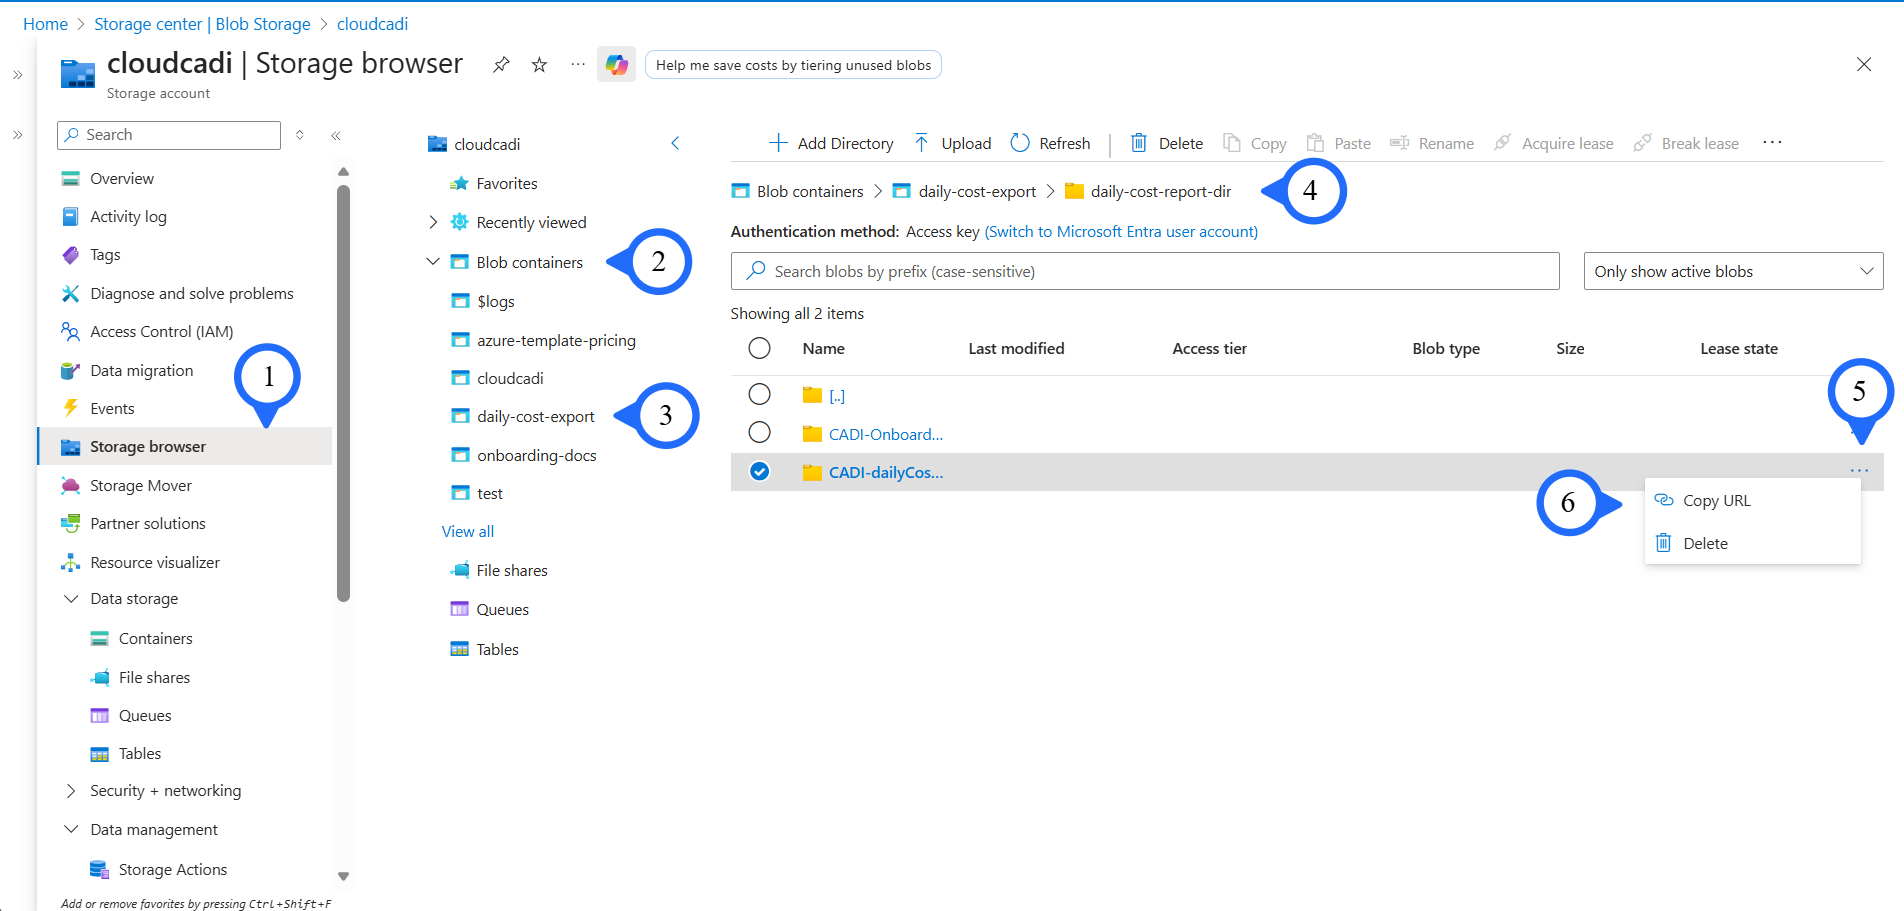
How to get Cost Export path name ?
- Login to your Azure Portal.
- Go to your "Storage Account". (i.e., Created during Managed App deployment).
- Get the Container Name under the "Data storage > Containers"
- Proceed further to the folder created during creation of the cost export Here it is "CADI-Onboarding"
- Copy the link by clicking on the "Three-dot-icon > Copy-URL"
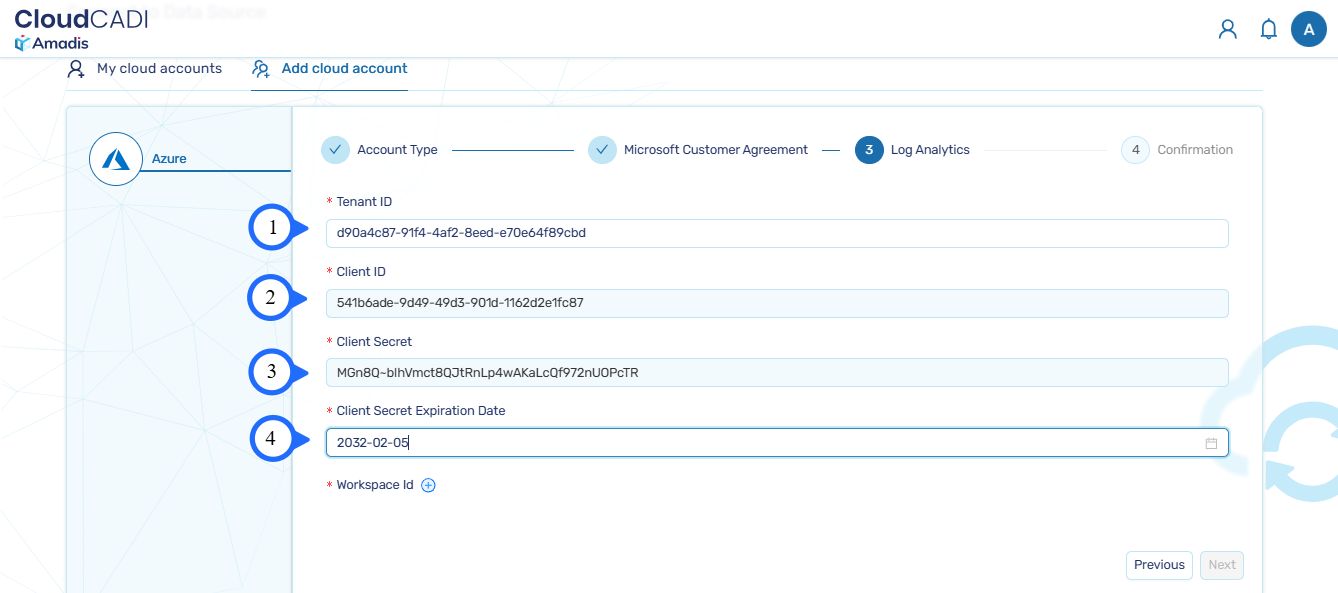
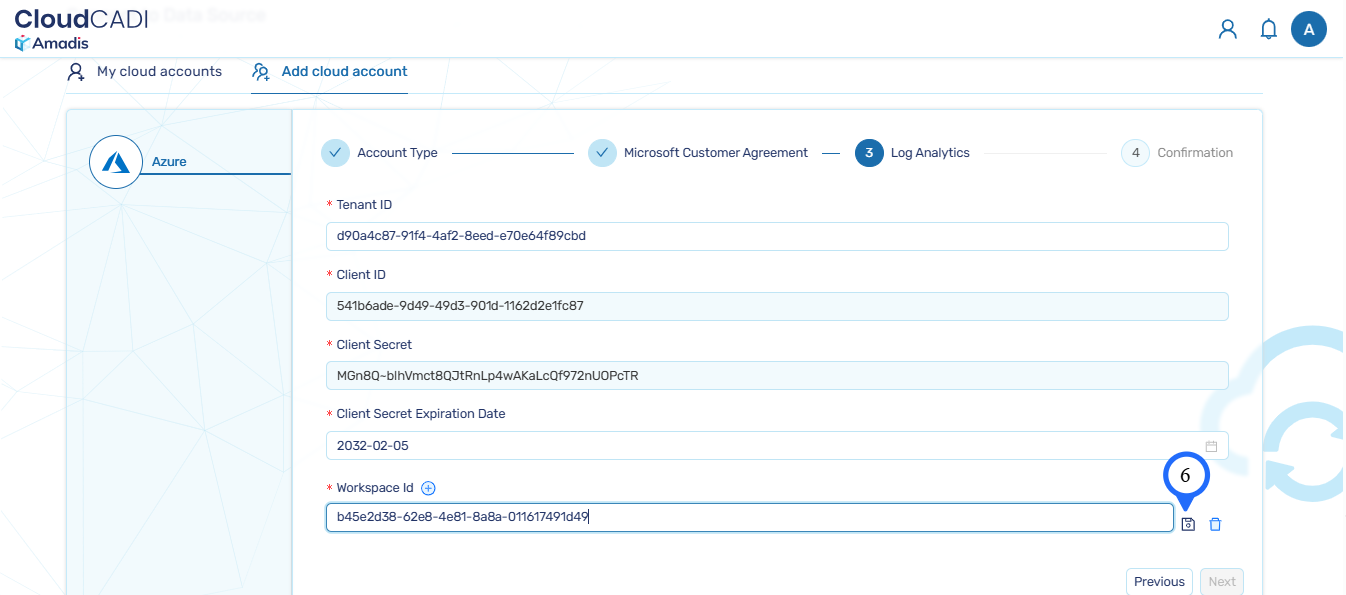
Log Analytics
- Follow the below steps for getting Tenant Id, Client Id, Client Secret from 'Active Directory' and Workspace Id from 'Log Analytics' in Azure Portal
How to get Tenant Id, Client Id and Client Secret ?
- Login to your Azure Portal.
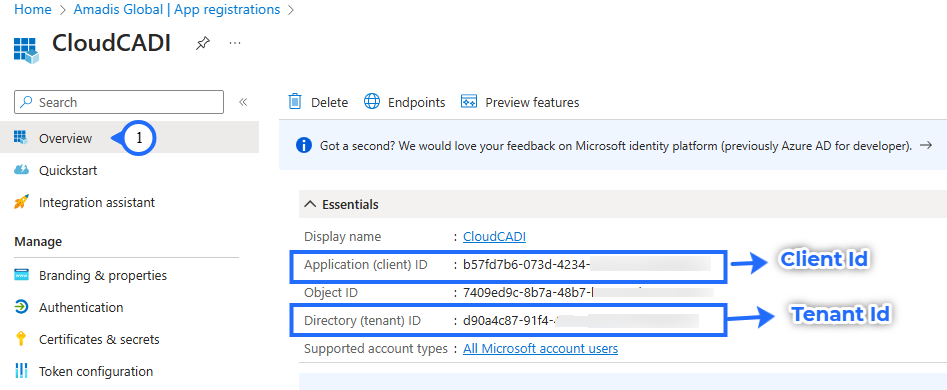
- Open the Microsoft Entra ID and click on the App registration.
- Open the Service principal which you created or selected during Managed App Creation.
- Under overview Tab, Copy the Application(client) ID and the Directory (tenant) ID.
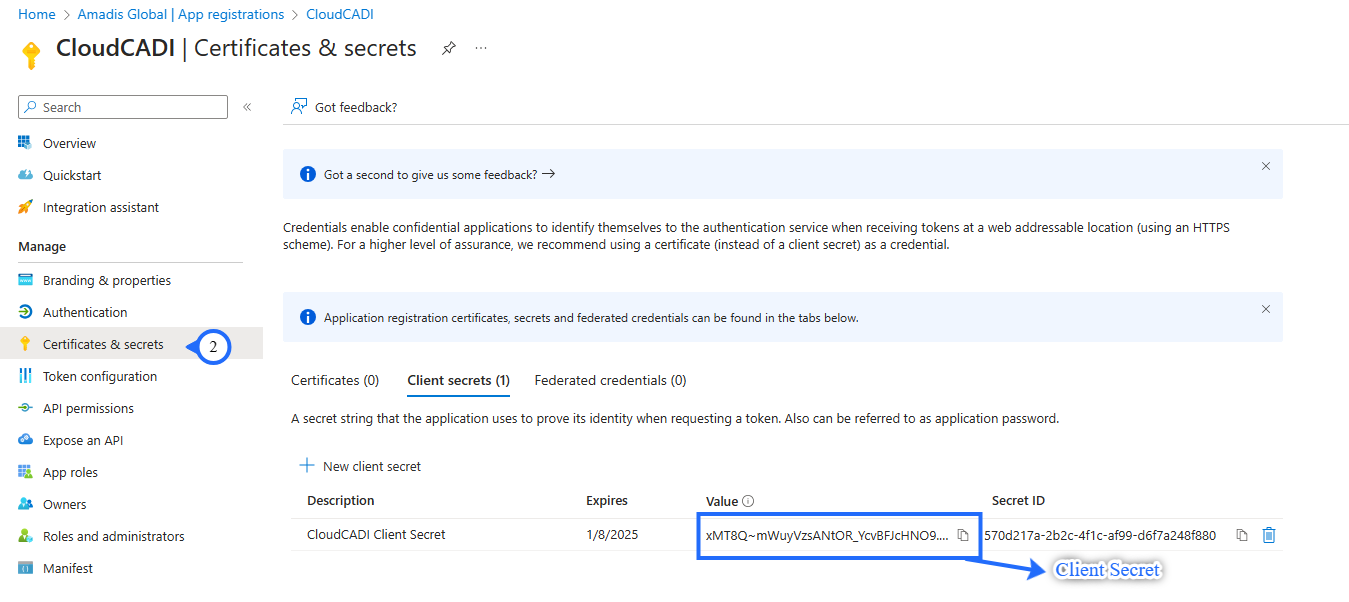
- In the Left Panel, go to “Certificates & secrets” and Select the Client secrets in the Right Panel. Select the secret key which you create during the managed app Deployment.
Warning
Client secret values cannot be viewed, if you have saved it during the app creation use from that or please create a new client secret.
How to get Log analytics workspace Id ?
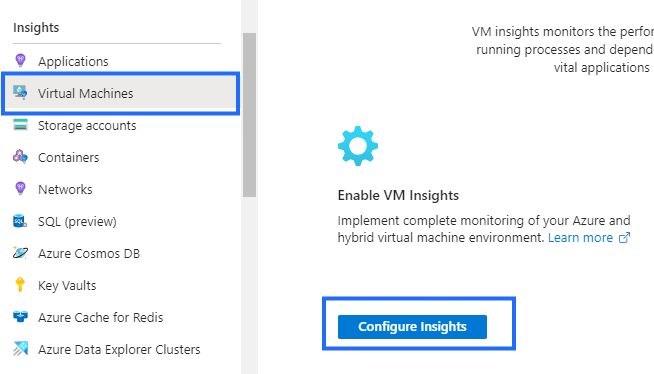
- Open "Monitor" under Azure portal.
- Click on the "Virtual Machines" under Insights tab.
-
Click on "Configure Insights"
-
Select "Workspace Configuration"
- Click on each Log Analytics name.
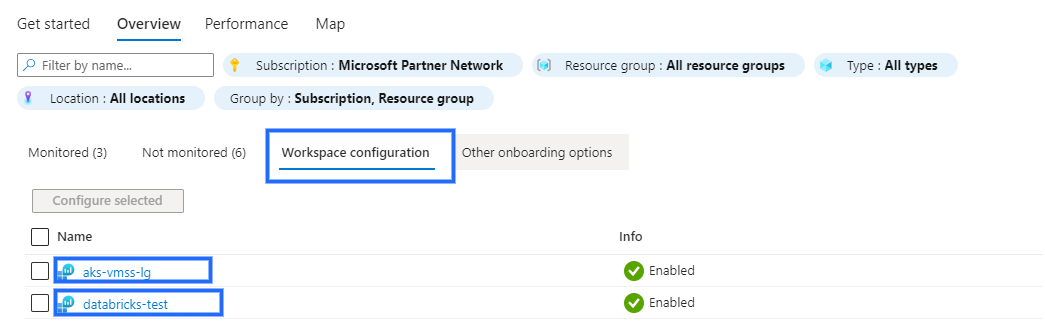
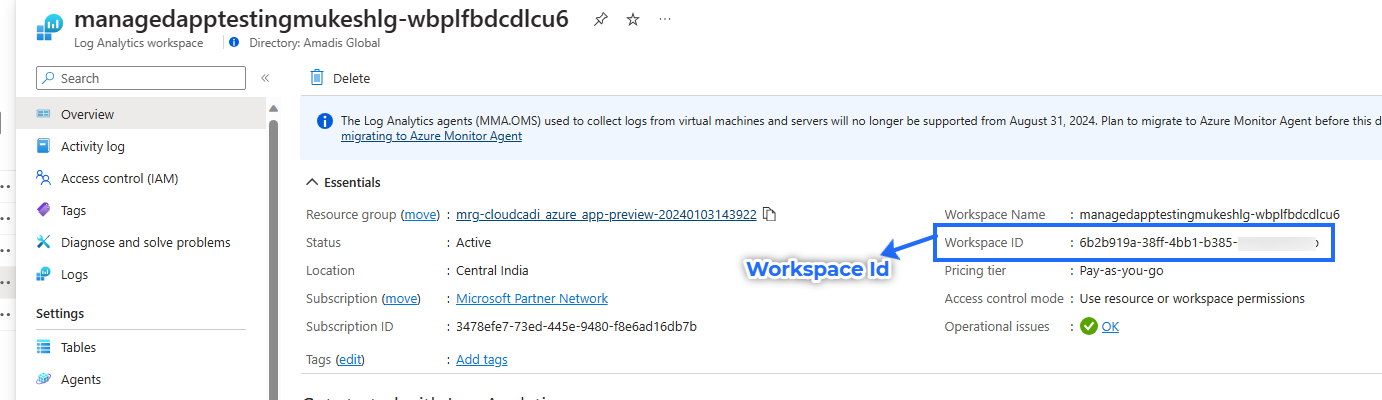
- In the Overview, copy the workspace Id.
- Click on the "+" to add each workspace Id.
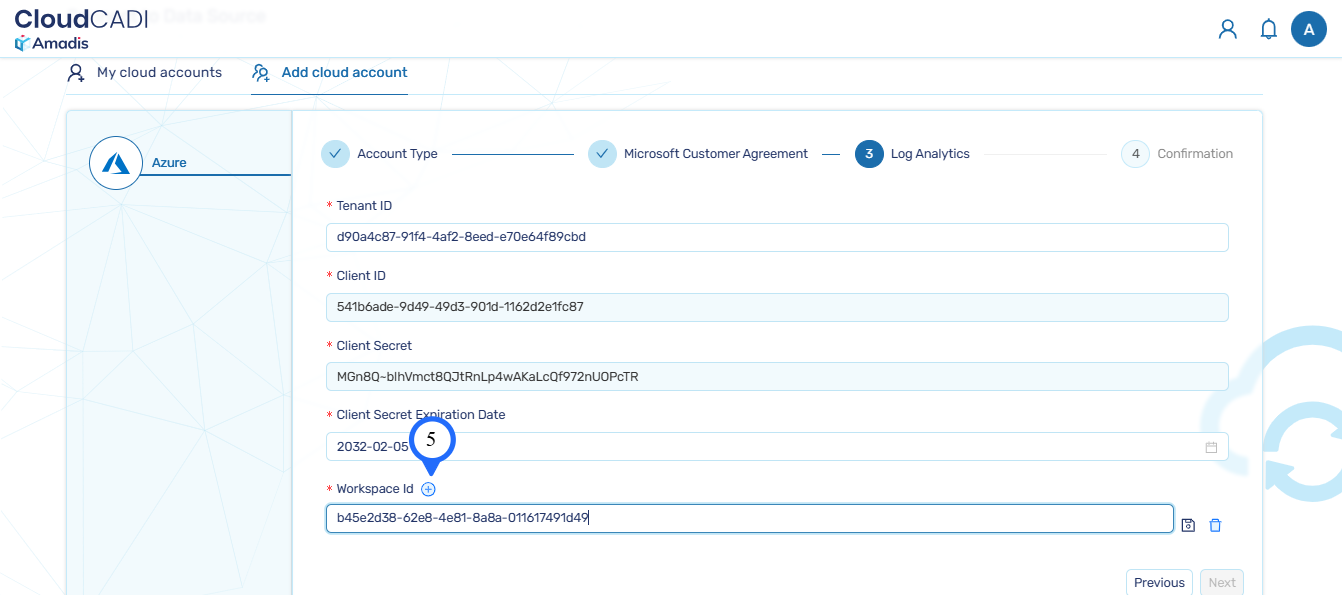
- After entering the Workspace Id, click the icon indicated by number 6 to add the Workspace Id.
Confirmation
- You will see the final view of the CloudCADI Screen with the provided credentials.

-
Click on the "Done" button to finish the onboarding process.
-
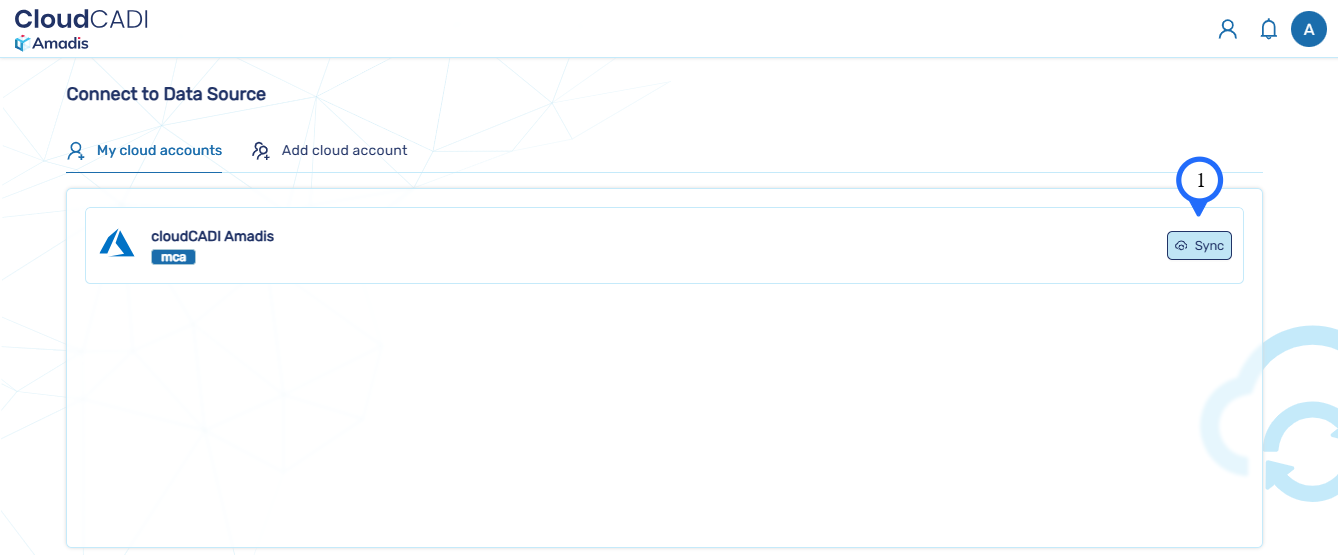
After creating a cloud account, sync the account by clicking Sync button.
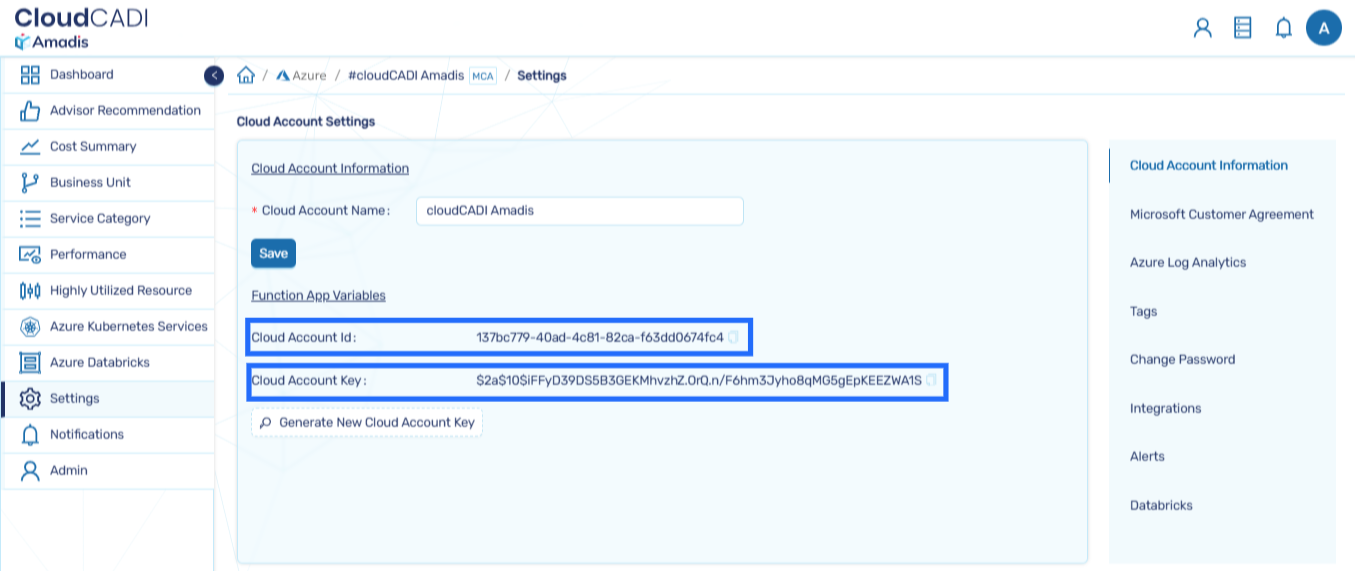
Note
- In the Settings page, Make a note of Cloud Account Id and Cloud Account Key which will be useful during the Function App configuration Section
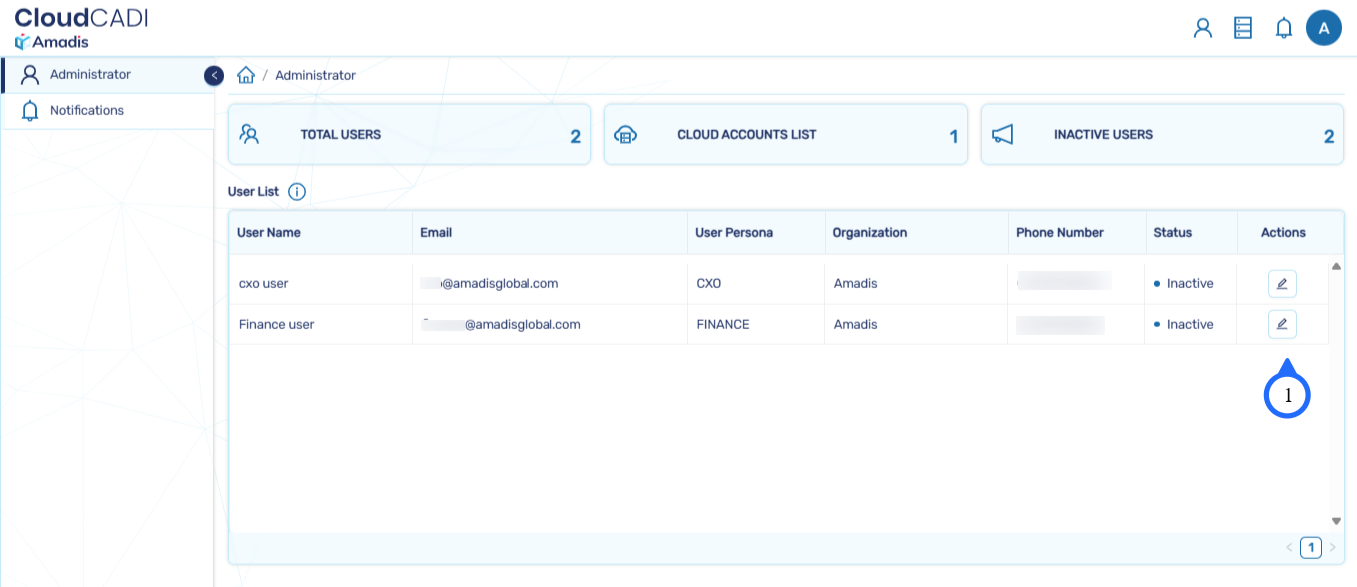
4.1.1 Cloud Account Allocation for User by Admin
- In the admin page, the list of users will be displayed.
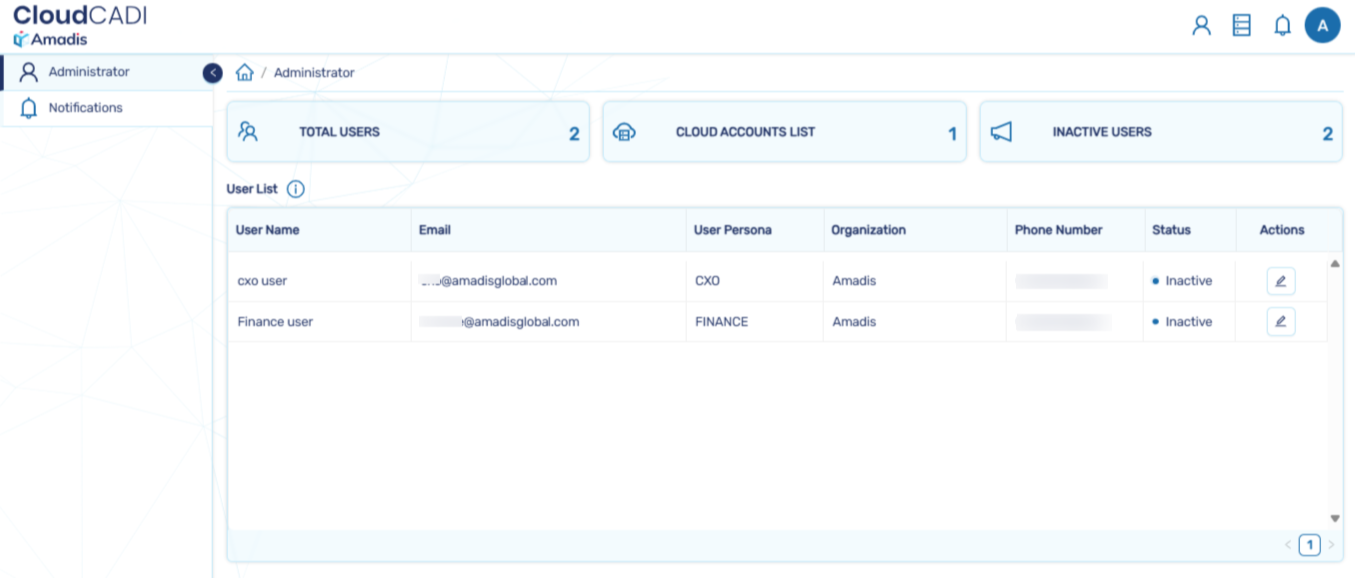
- Click on Actions button to update the user details.
Note
- Only admin has the authority to activate and deactivate cloud accounts.
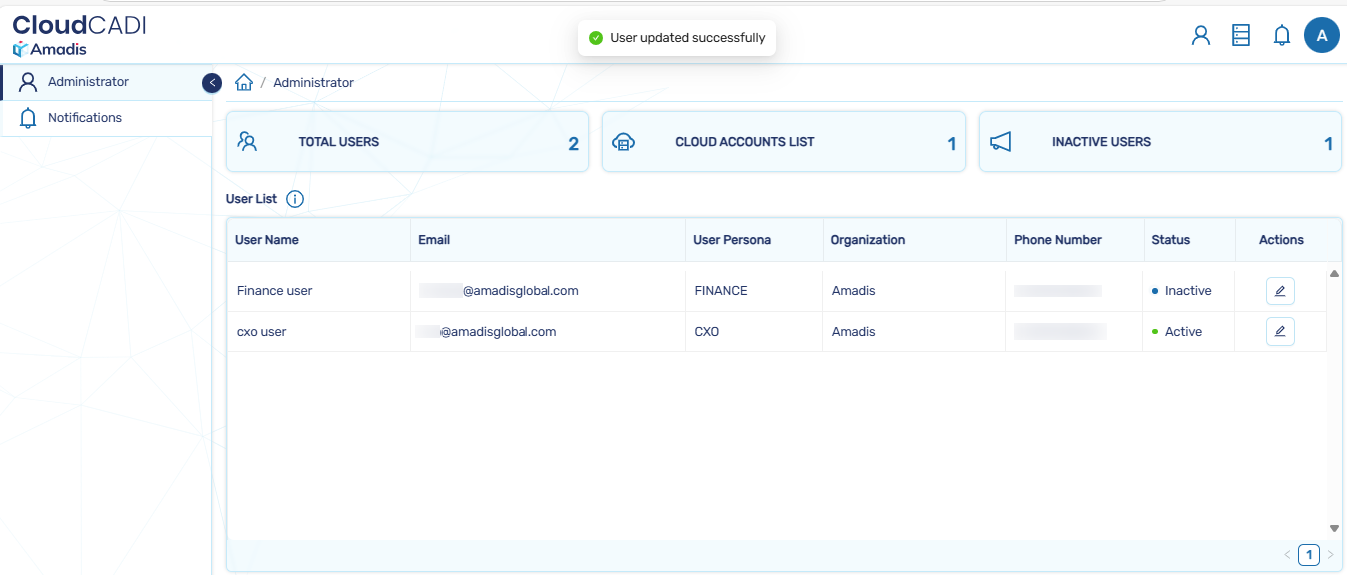
- Select the cloud account from the Cloud Account List, set status to active, and click on OK button.
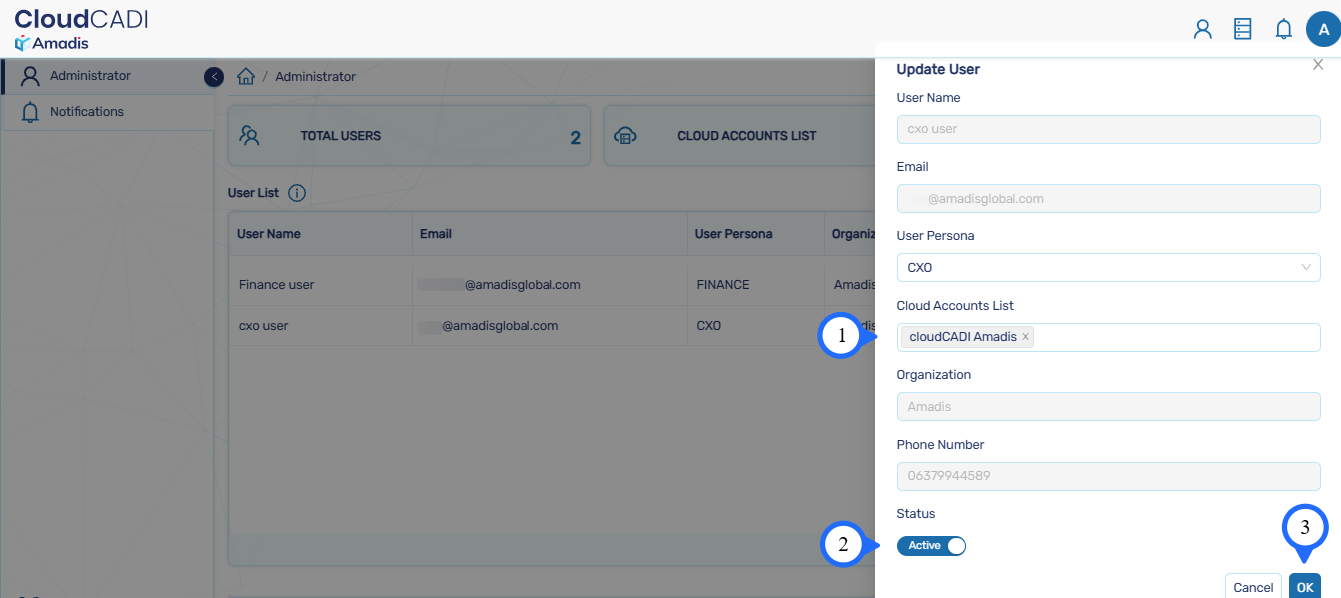
- The cloud account is allocated to the user by the admin.
4.2 Setting Up an User Account
- Visit App Service URL and click on Sign Up.
- While signing in to CloudCADI, the user must select their respective persona choice: Finance, CXO, or Engineer.After that click on Sign up.
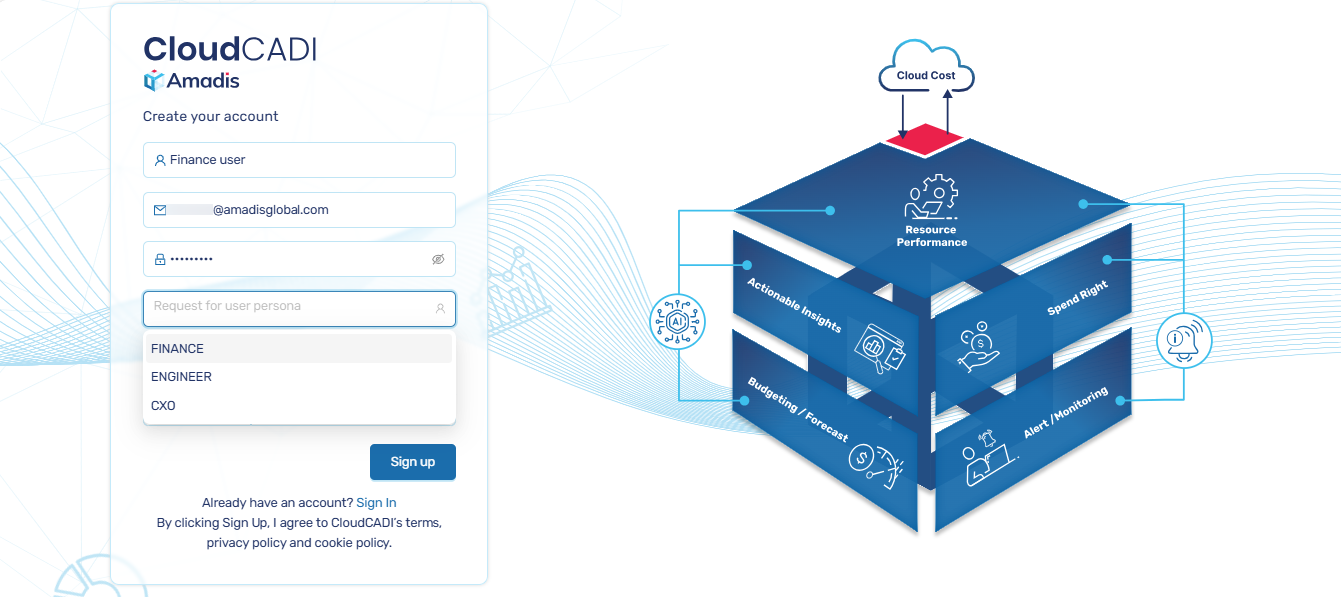
- A verification email will be sent to your registered email address and after the verification Sign in with your account.
-
After receiving the verification email, open it.
-
Click on the Verify Email button to complete the email verification process.
- An email notification will be sent to the admin for each user registration.
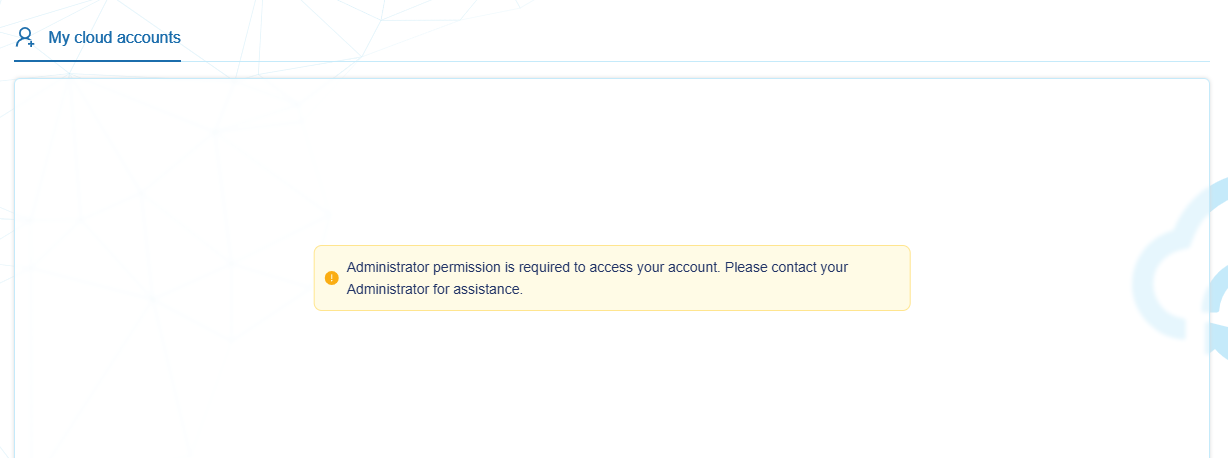
- Ensure the Admin has set up your Cloud Account.If not contact your administrator for assistance.
Note
- The user cannot able to create cloud Account and has read-only access.
- After allocation , log in and sync the account that was created for you by the admin.
